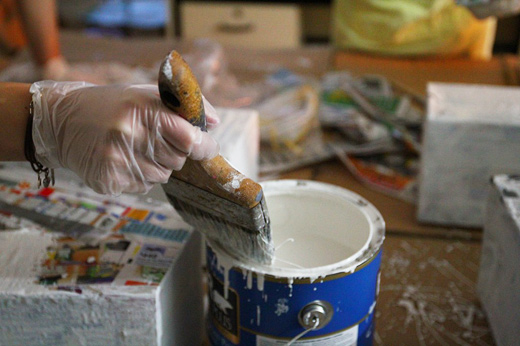
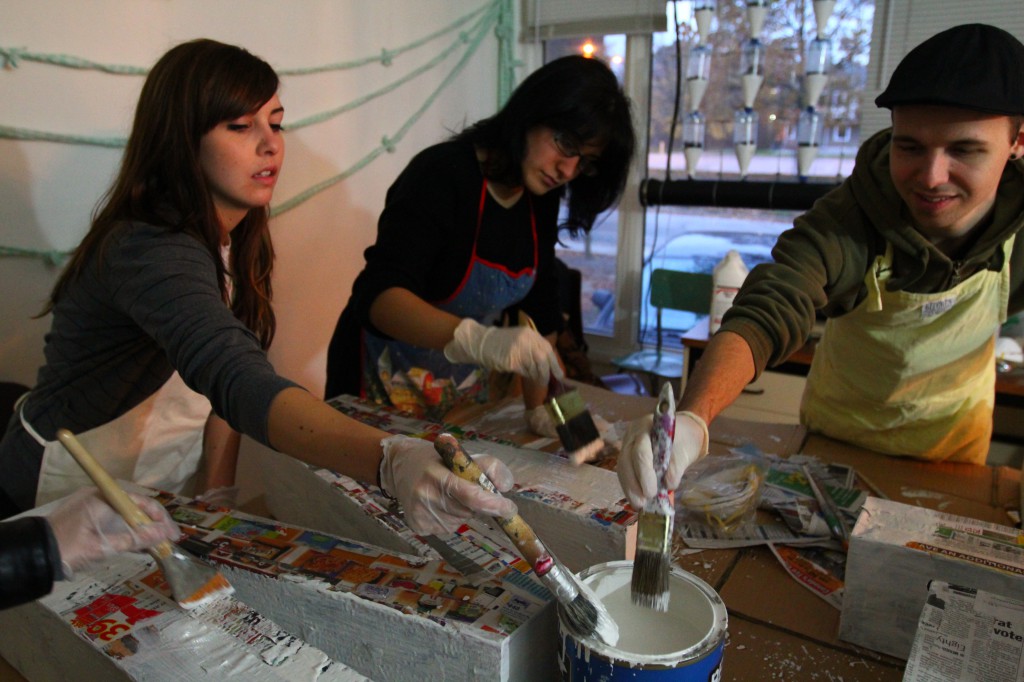
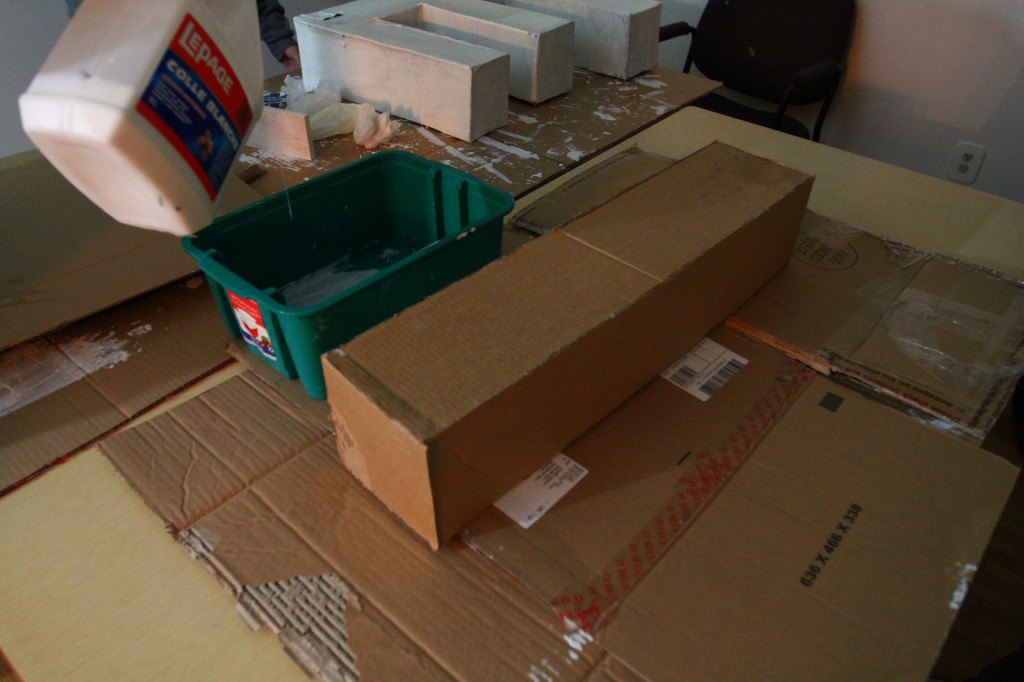
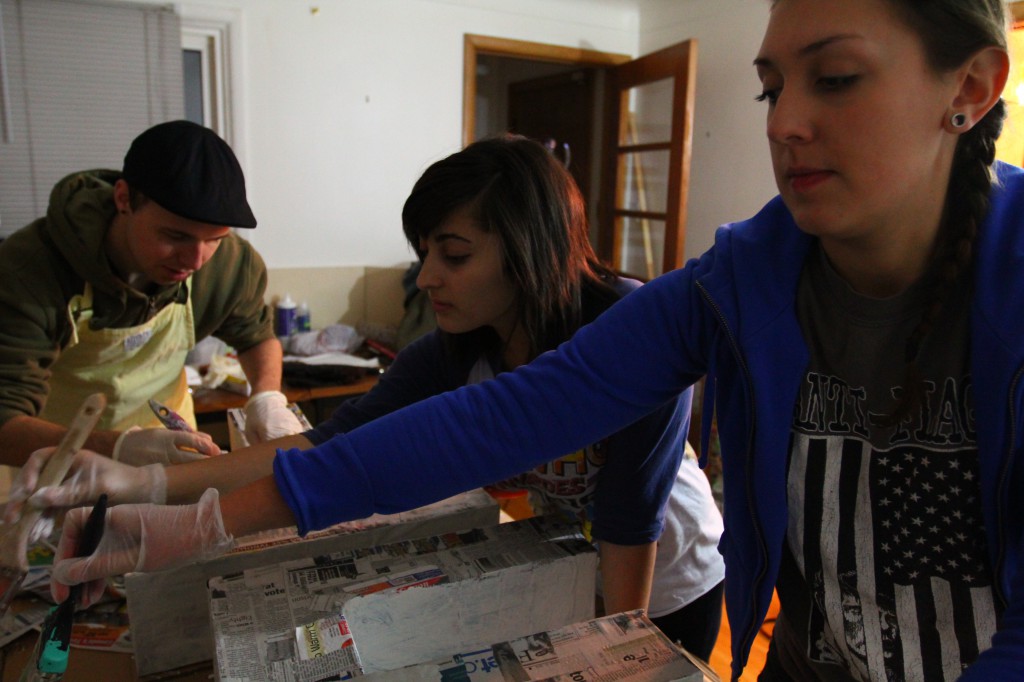
We are already nearing the end of our priming process for our letters after only beginning last week! While we got to painting the rest of the letters on Friday, I prepared a few things earlier in the week for our next step, painting the letters in a fabulous bright red.
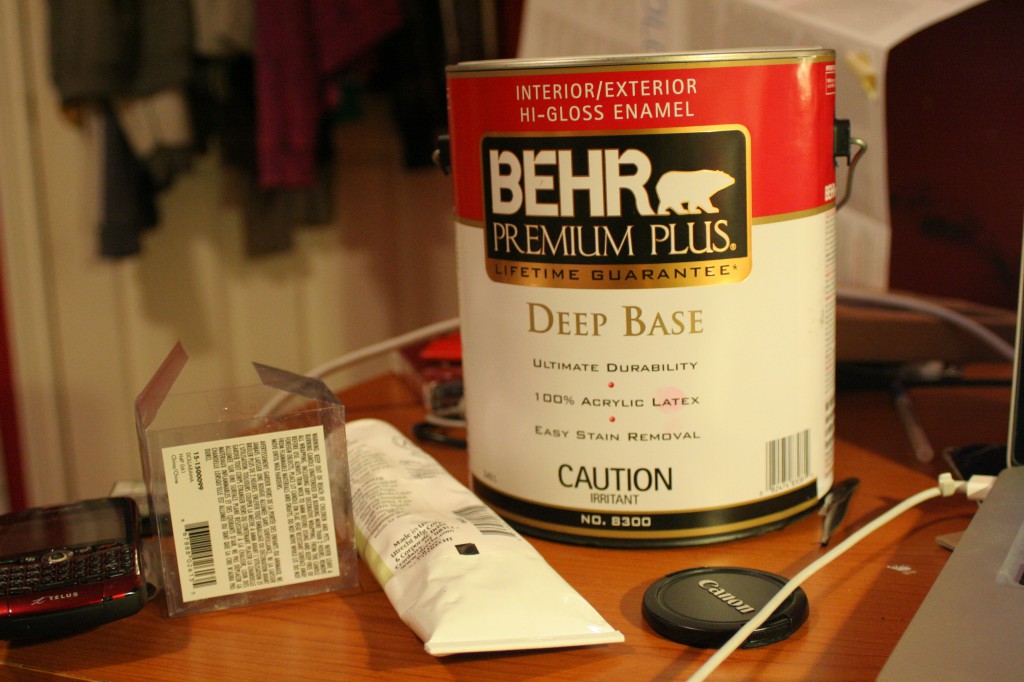
After deciding on a colour a couple weeks back, I picked up an exterior paint made by Behr. Initially I was going to pick up an oil-based paint, but in speaking with someone from Home Depot, he suggested I get a water-based gallon if we wanted a brighter, glossier colour. The change slipped my mind as I was running tests, nonetheless it seemed to work and I was told it would work fine with the primer we chose anyway.
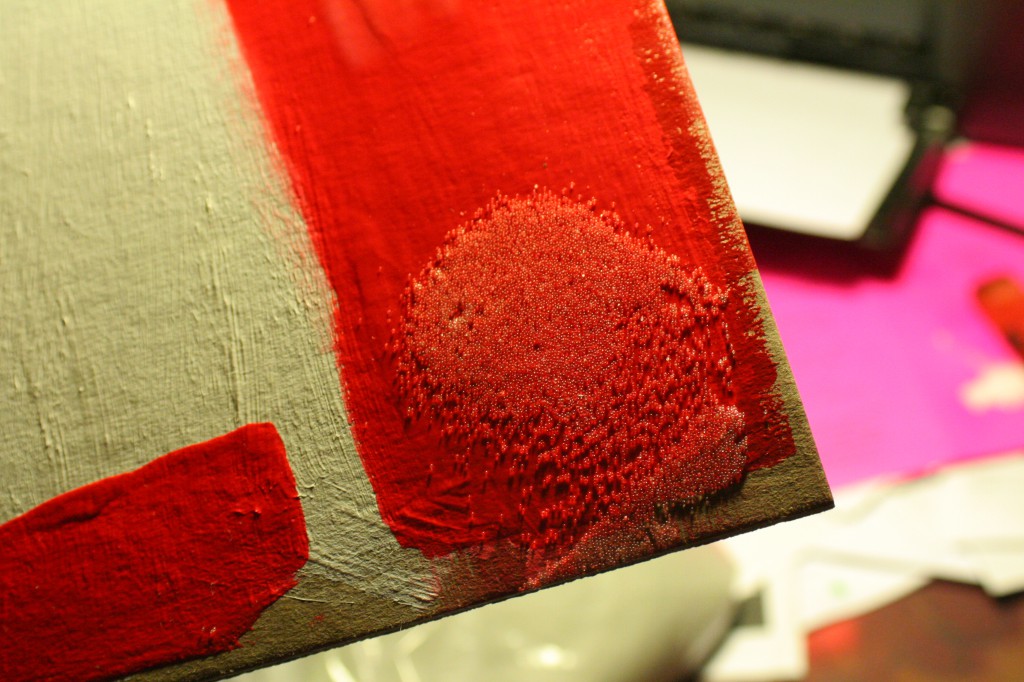
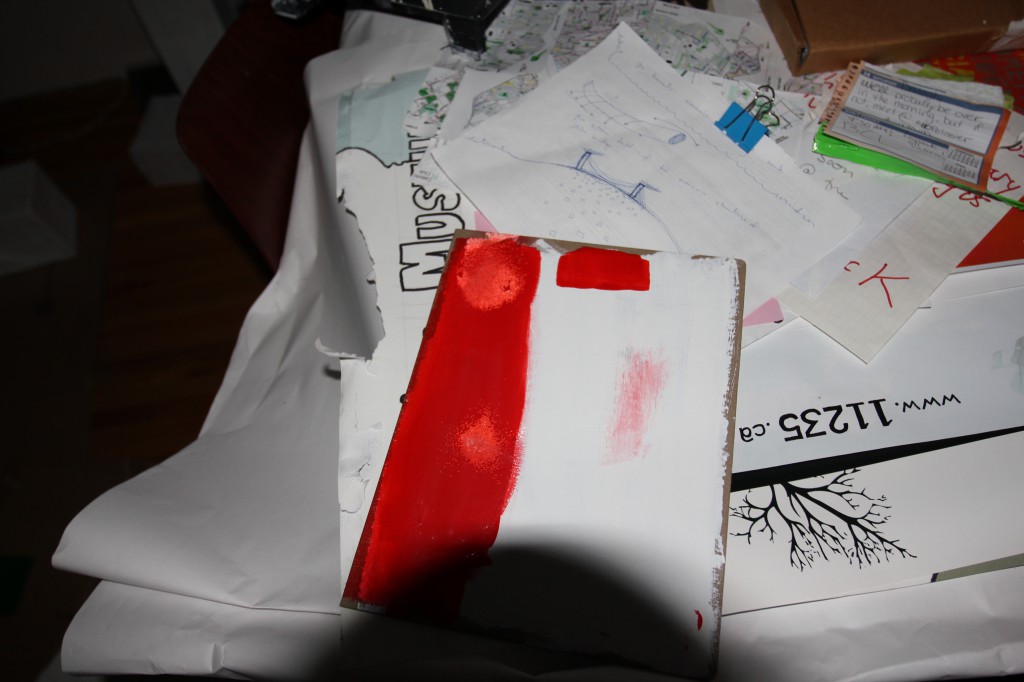
I tested out the different amount of layers. While discussing with everyone on Friday we decided it best to try one, maybe two coats of the red to keep the colour poppin’. While the paint was still wet, I applied a patch of the retroreflective glass beads, trying my best to spread them evenly together.
Justin tested my experiments with a flash. The small bottom patch is my try at using glue to adhere the beads. We concluded, however, that neither made a huge difference in retroreflectiveness. The paint is also able to hold the beads in place perfectly fine.
Before beginning with the red paint, we had a little more priming to do. With more hands (and brushes) we are finishing much faster than previously anticipated! I am really excited to see the outcome of this project.
Thanks to Danielle’s keen eye, we realized that we neglected to paper-mache AND prime the I !
We also discussed how we are going to effectively and evenly attach the beads to the paint, perhaps using methods like a sifter of some sort, or a salt shaker? Looking even further ahead, we are still in talks with WHERE we’ll be displaying the letters and/or to whom we should speak to regarding where/how they think the letters should be displayed.
There will be much more discussion and experimentation next week leading to the time we get together again for our next painting party!
Friday should be really interesting for experimenting with these glass beads … lots to figure out, but I love this process!
Also, it’s interesting you ended up going with Latex paint. The tests you did looked great and it’s a bonus that it’ll be easier to clean-up and probably faster to dry. The oil-base will still give us a good seal though.
I’m also really anxious to see a larger surface with these glass beads on it. To be able to do more tests with a flash, or headlights, etc.
Oh, and great great post!
I can’t wait to do tests with car headlights! I’ve also thought of a couple of places while driving on the weekend! Woo!
Oh, what could these places be???
Let’s start making a list!
I was wondering what kind of waterproofing/weatherproofing you guys have done so far, if the letters are to be placed outside. I’m working on a similar project with massive cardboard letters to be placed outdoors in late January. I live in the east coast so our winters are pretty nasty…ideas on the table right now are saran wrap or some sort of water proof latex paint (it needs to be super cheap, we’re on a tight budget!). Any info or advice on this would be much appreciated! Thanks (:
(I love Google. I was searching for how to make cardboard letters and was brought to your site. You guys are amazing! I love the work you guys are doing.)
Ramya, the extent to which we’ve weatherproofed so far is a layer of papier maché, a base coat of oil primer and we’ll finish with two coats of interior/exterior latex paint.
A while back, one of our friends suggested boiled linseed oil. We didn’t try it, but it might be the answer to get things weatherproofed for extended outdoor stays. We’re not anticipating on leaving these out for days on end.
Rust coat paint is also an option, that stuff is supposed to do a pretty good job at sealing surfaces.
Keep us posted on your project!