Fail to Meet Expectations: Vinyl on Paint Posters

We’ve been talking about picking up on some of the ideas we put together for the OPEN panel discussion from earlier in the month, and it seemed like posters were a natural fit. Given the text statements that we made to address the an idea of economies and creative practice that served as the backdrop for our talk (rather than the normal set of images), we wanted to find a place for them beyond that PDF file.

So, Monday seemed like a great day to start playing. We’ve been doing so much paper work lately, this is long overdue.

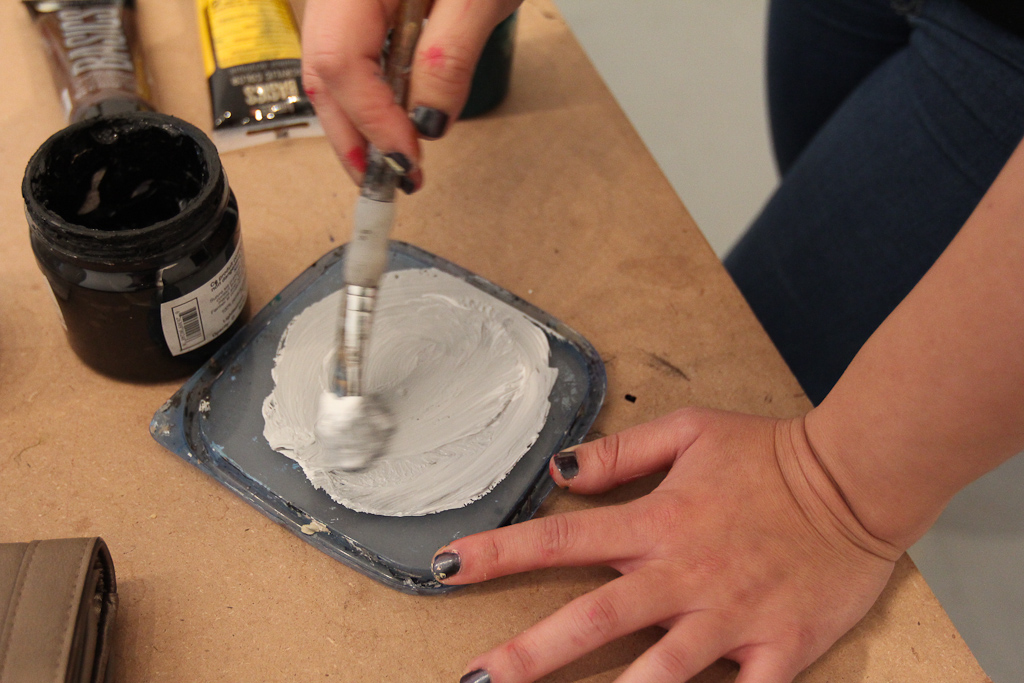
Hiba mixed some colours and started make some base colours.

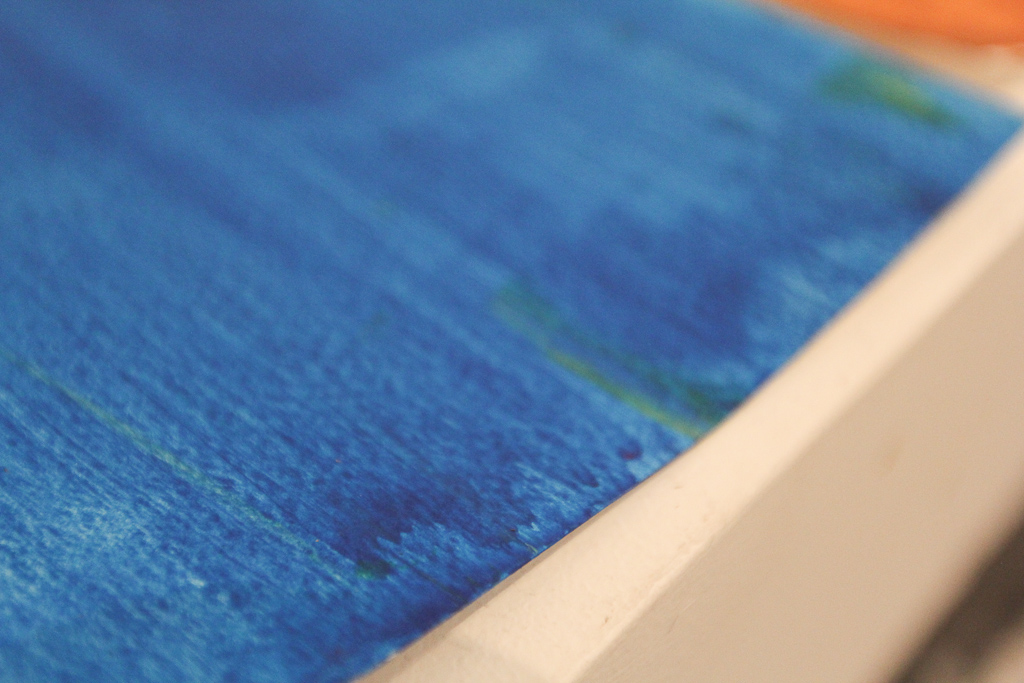
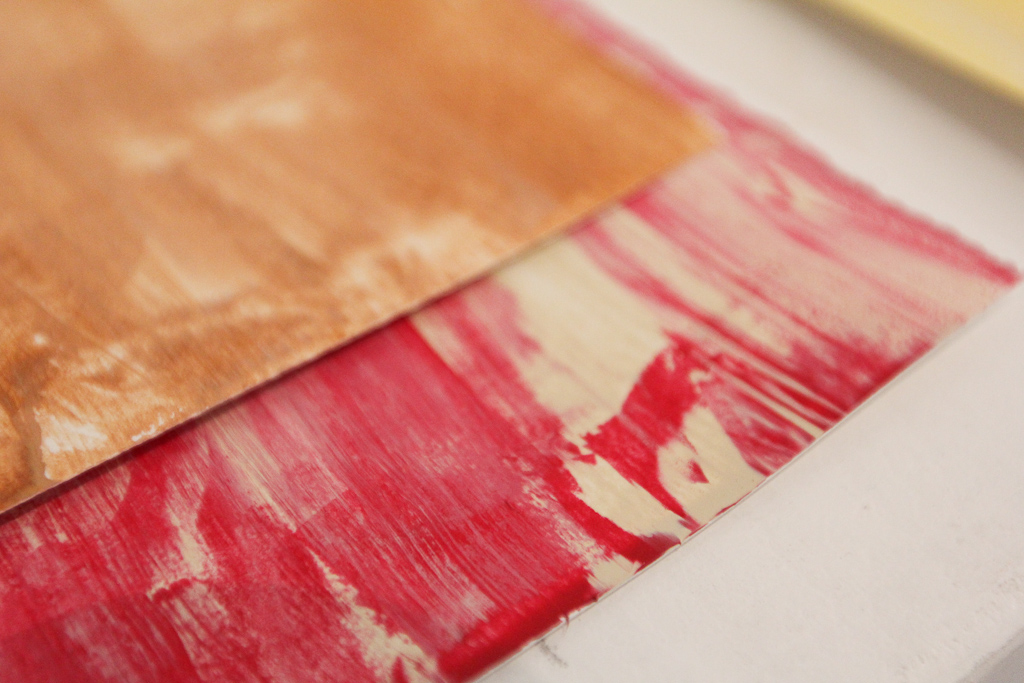
We decided from the start to cut some vinyl (rather than screen printing or stenciling at this point), so we experimented with some colour.

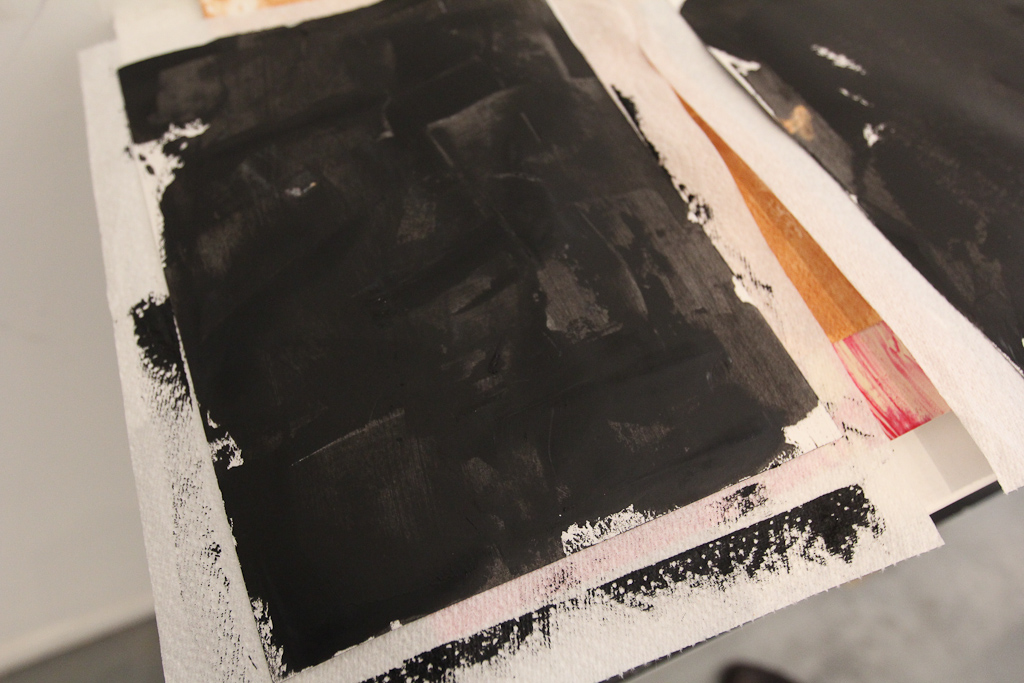
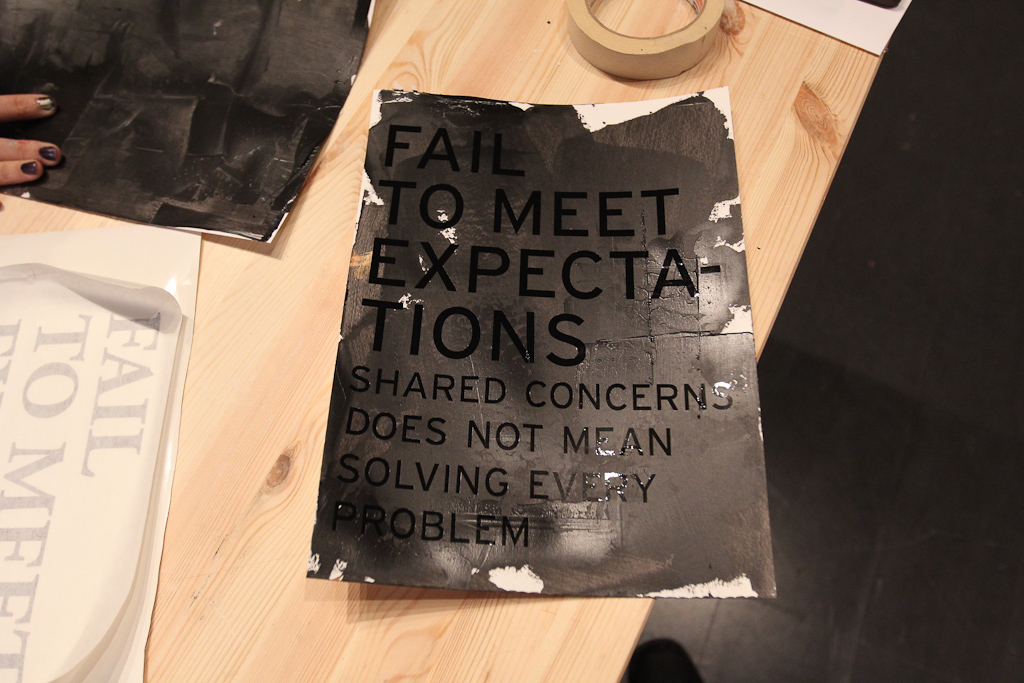
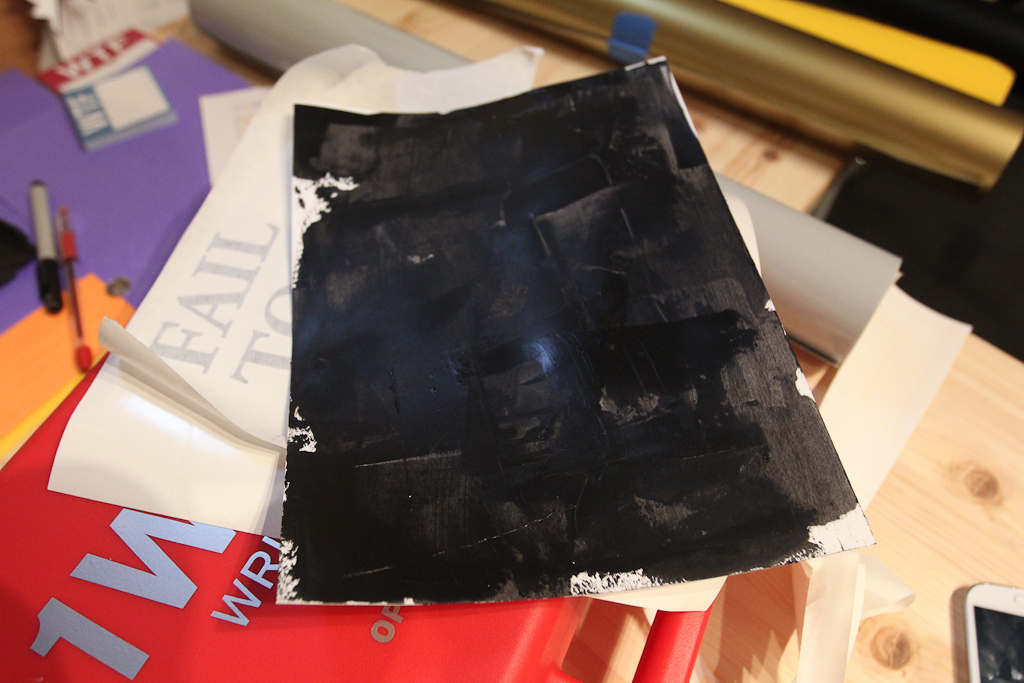
But, it wasn’t long before the black stood out. Hiba was using a metal scraper to spread the acrylic paint on these smaller 9×12 sheets. We want to make these larger posters soon.

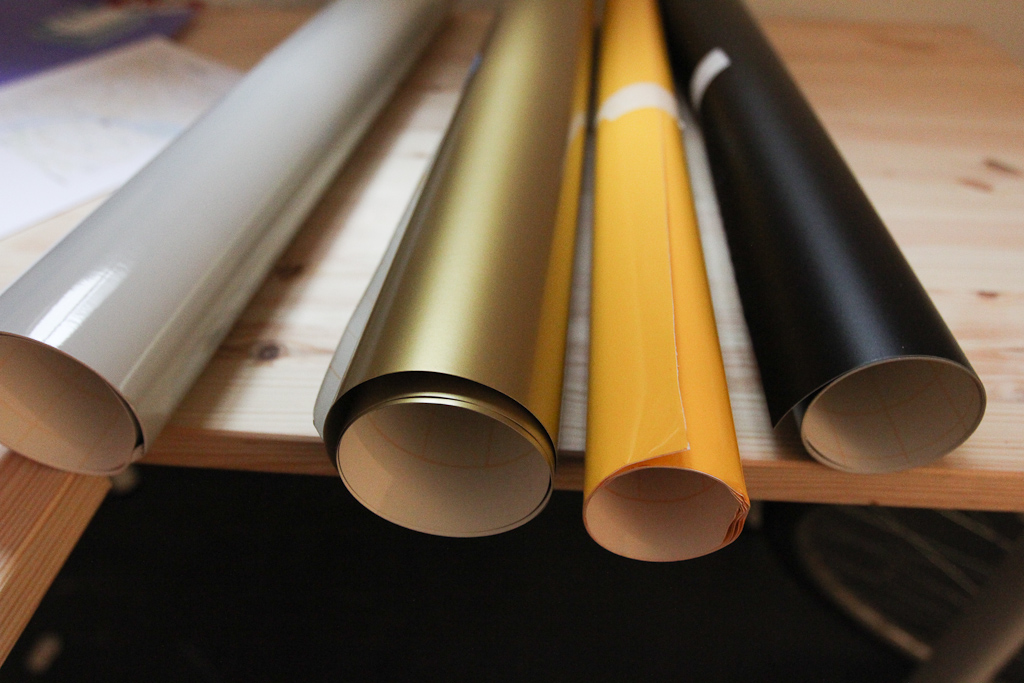
Also, decided to play with some other vinyl … haven’t pulled out that gold for a while.

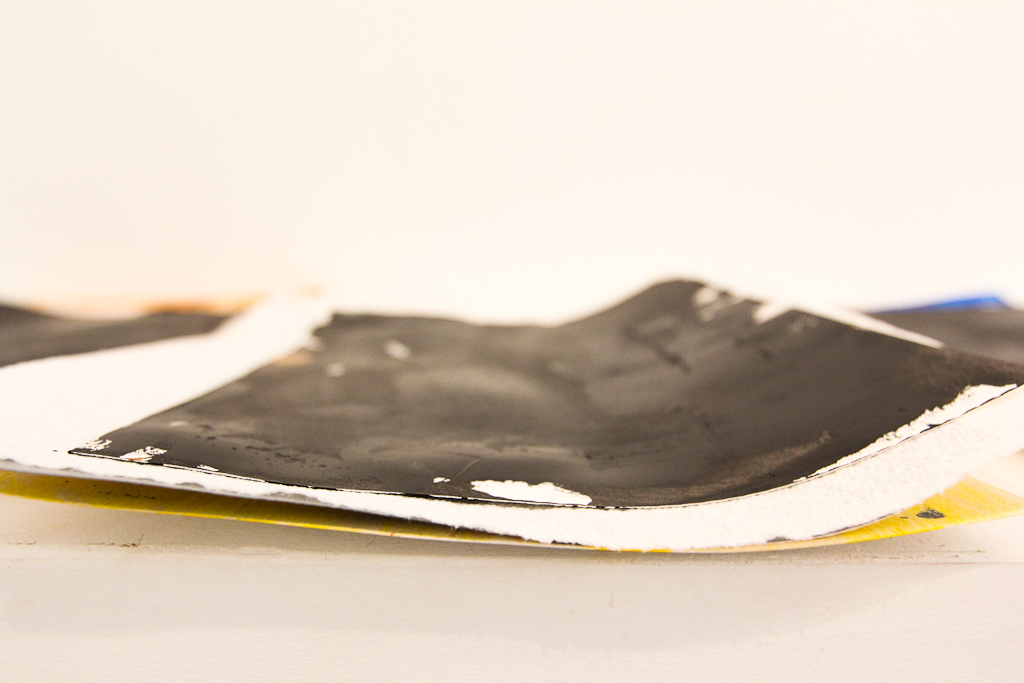
Detail of texture of the paint.

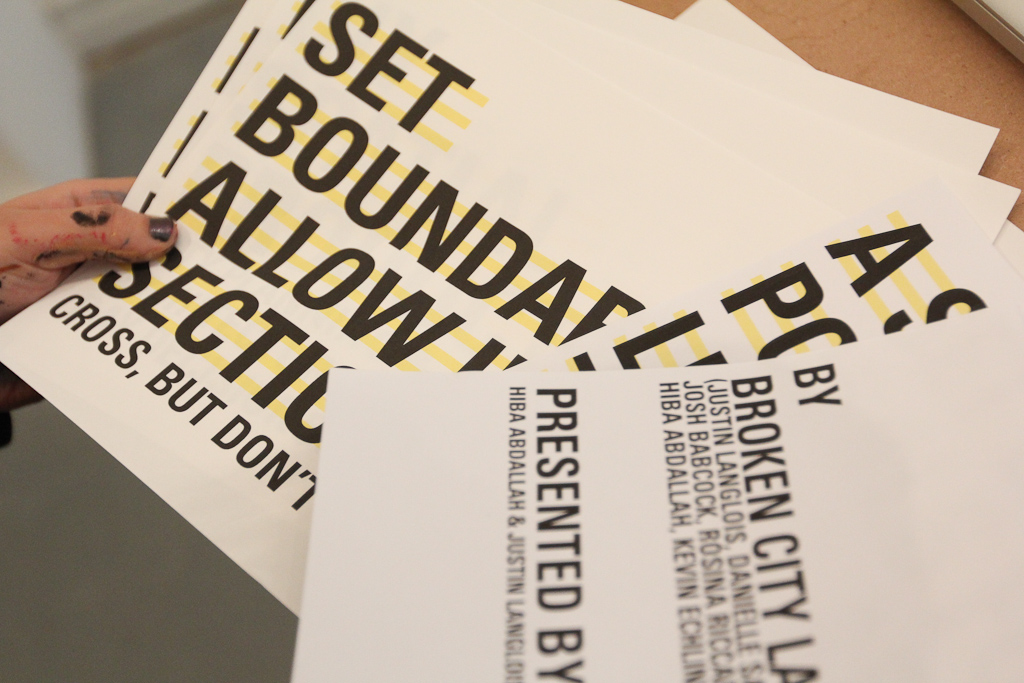
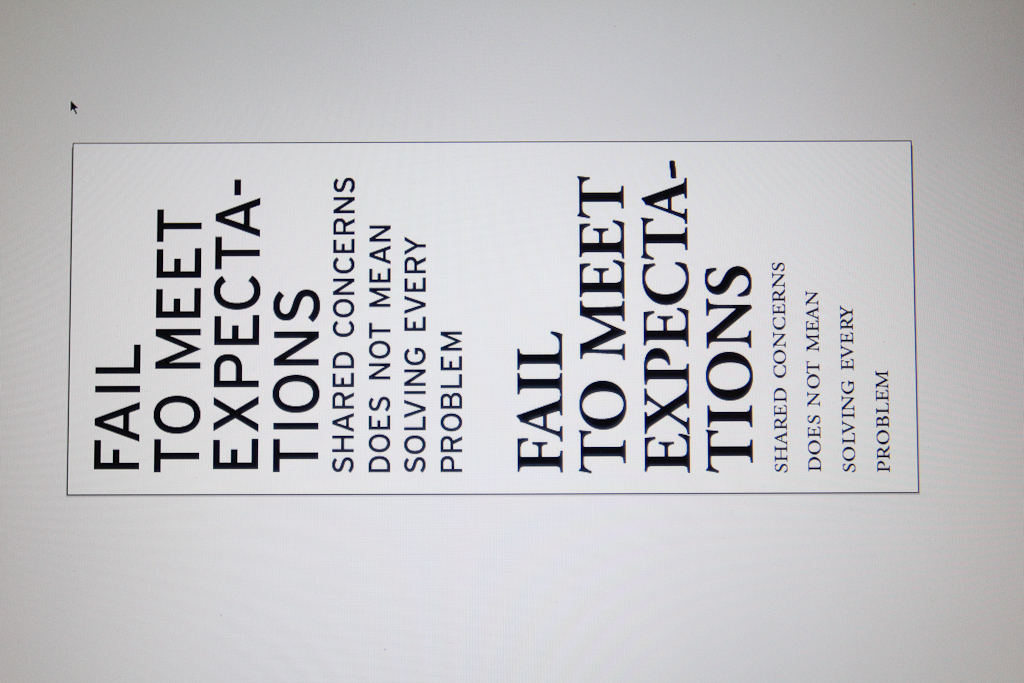
We printed out those slides and started sorting through.

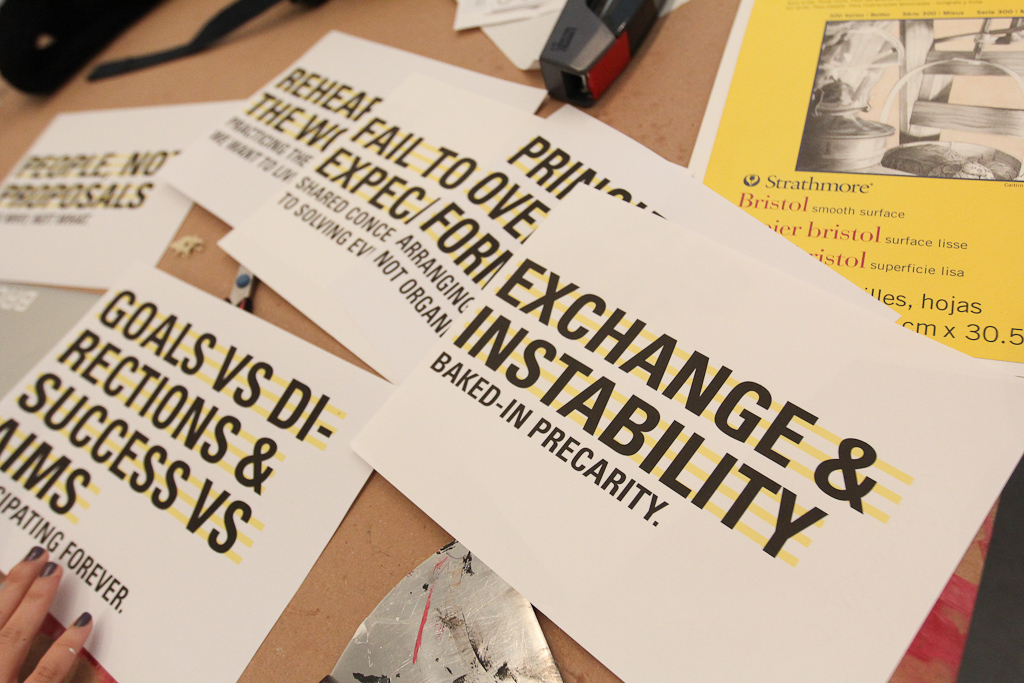
We decided to go with just one, as we were planning to cut a couple different fonts and colours and wanted to be able to compare the results.

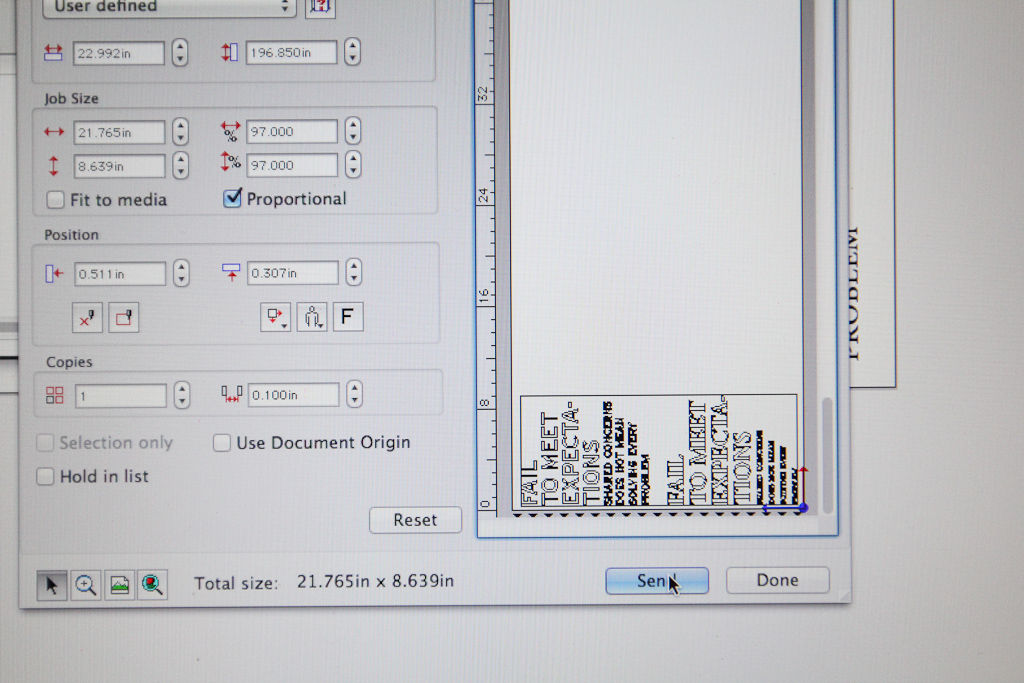
Good ol’ Cutting Master.

We went with Interstate and Garamond — all caps and small caps.

Hiba weeds the first cut of shiny black.

Interstate looked promising at first.

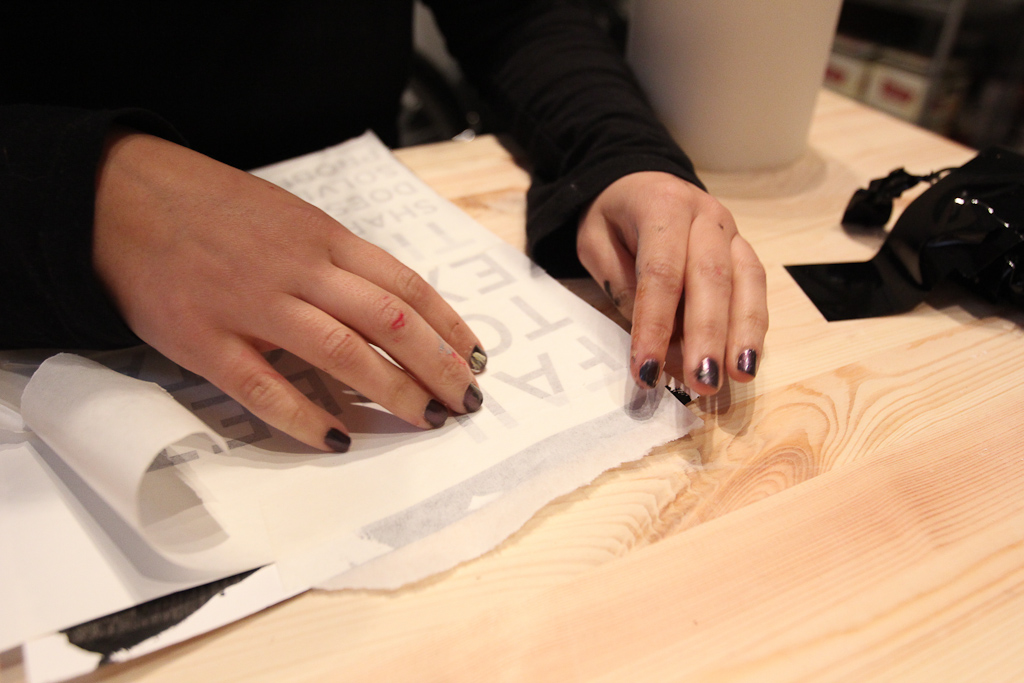
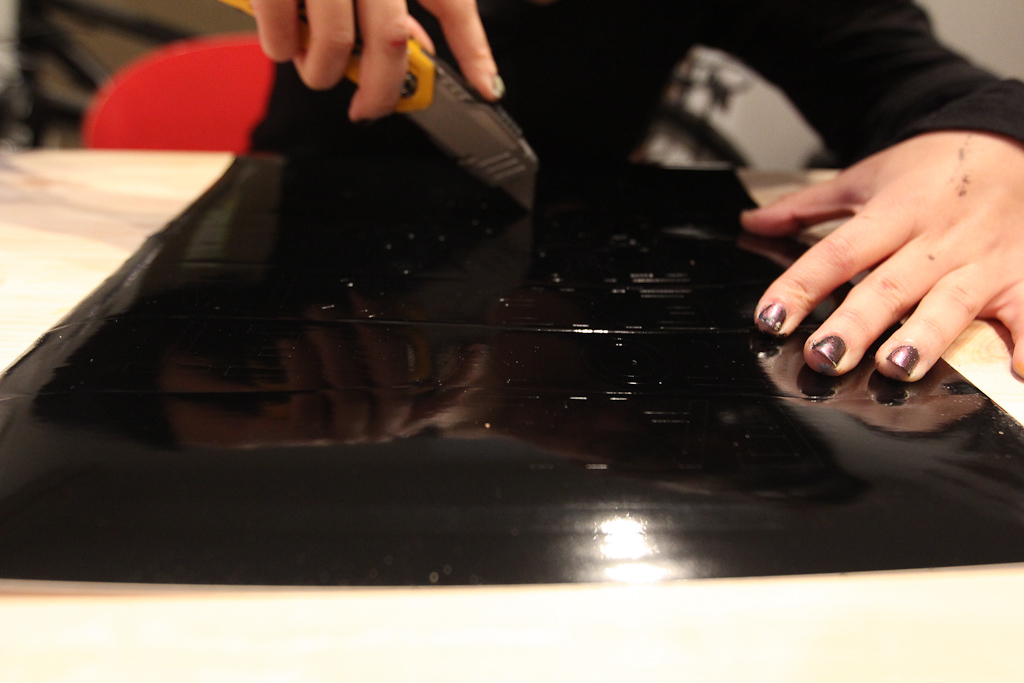
Hiba applying the vinyl to the paper.

The paint dried, but was just a bit tacky, which helped get the vinyl to stick.

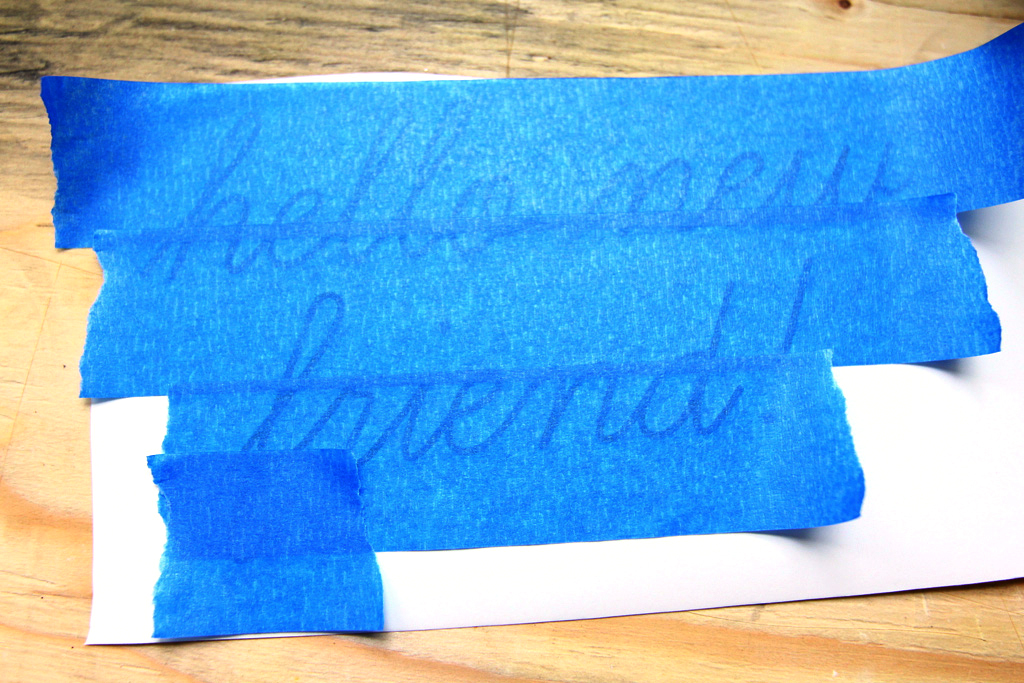
Detail, applying the vinyl, you can see the text through the masking.

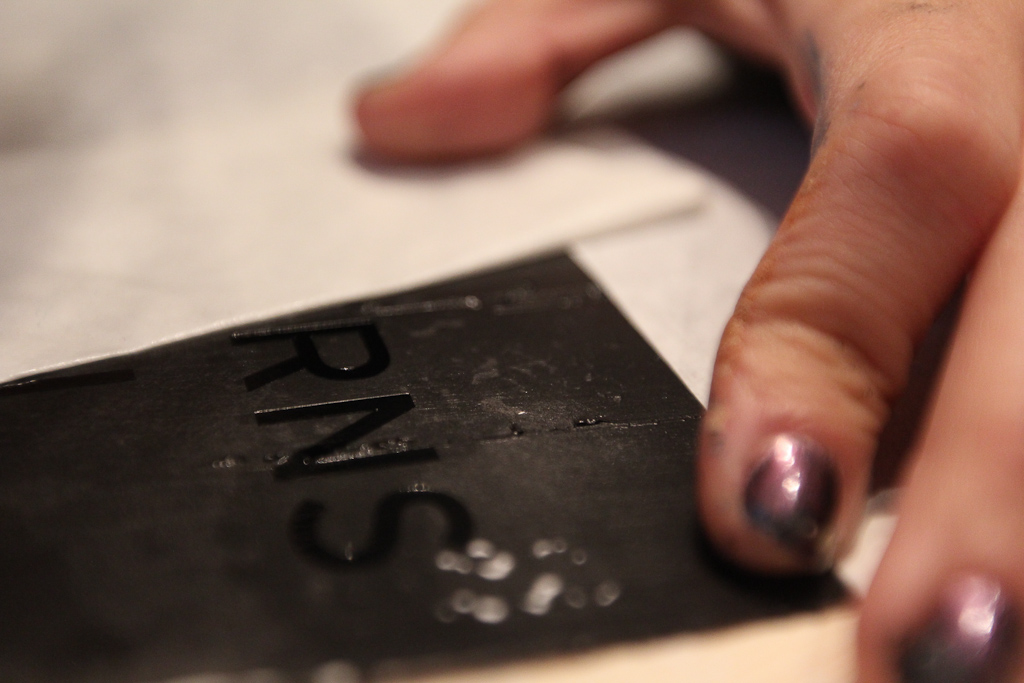
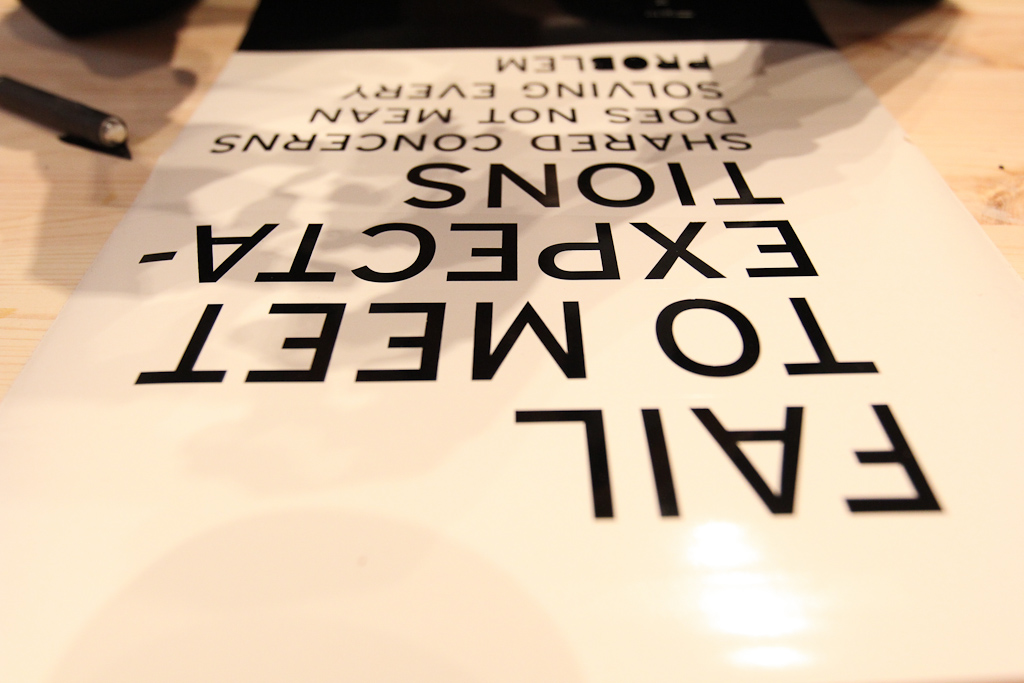
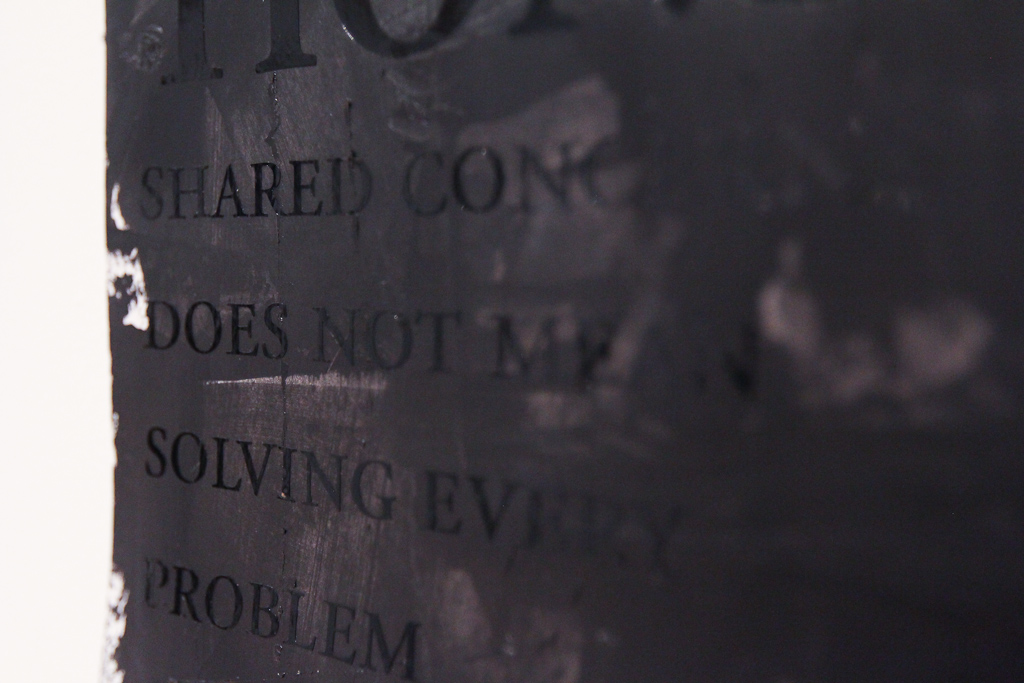
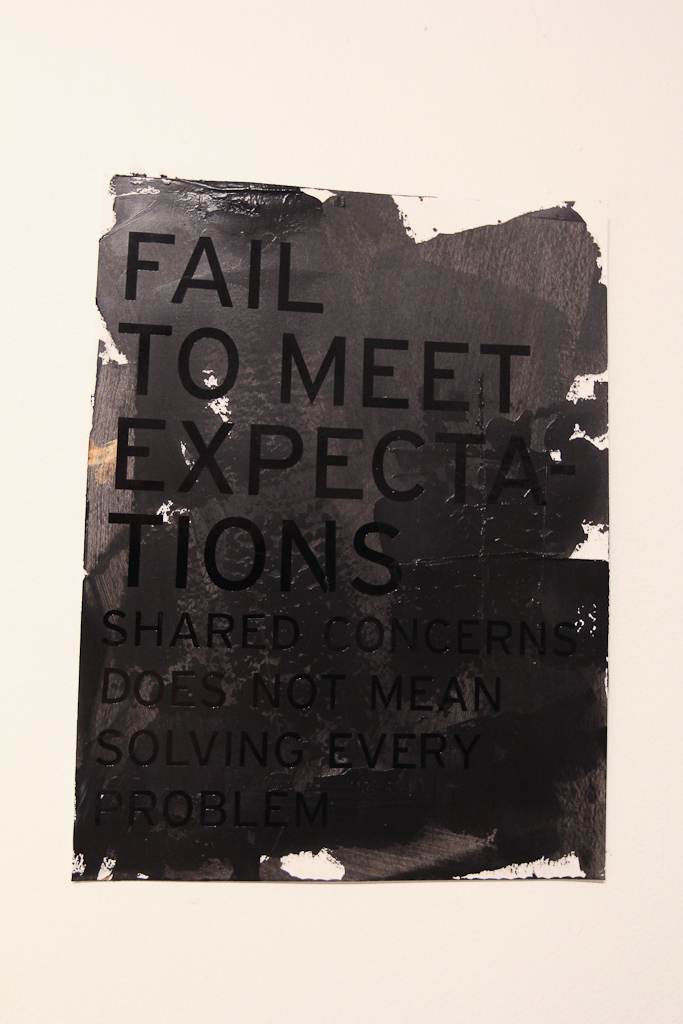
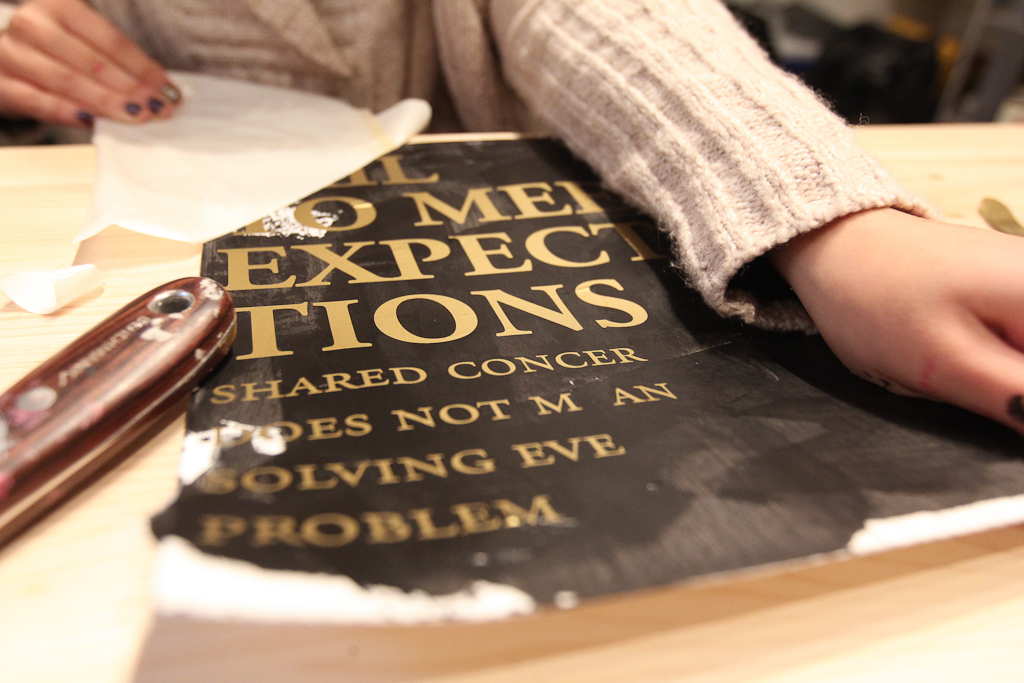
Pulling it up, the gloss black looks deep.

Nice and clear, but didn’t stand up to the serif font.

T.

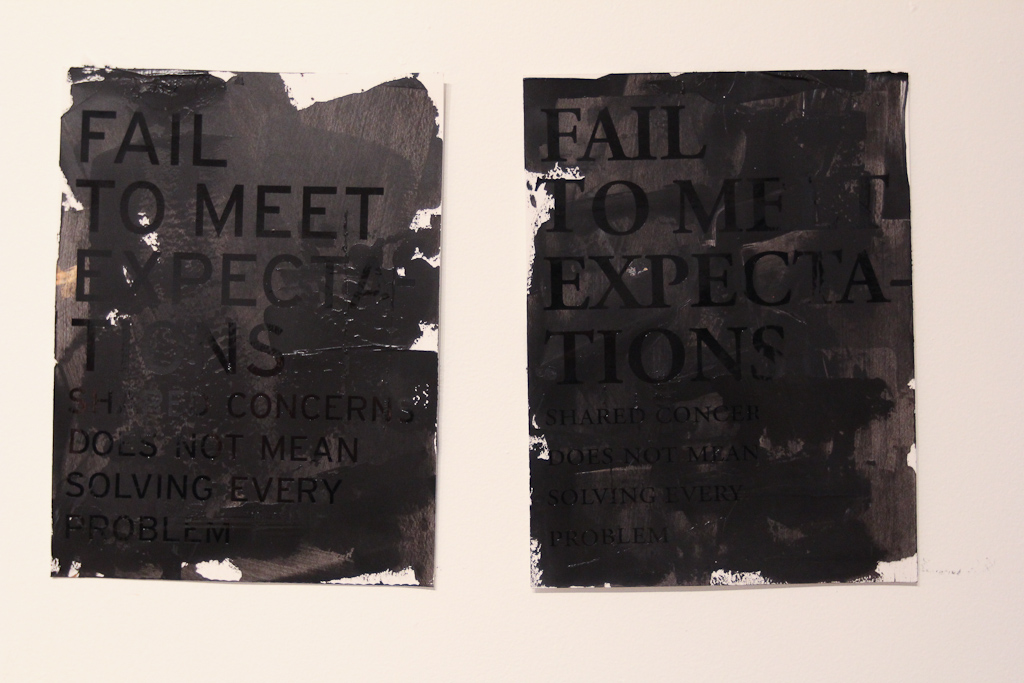
Side by side, we’re pretty convinced with the Garamond on the right.

Less surface area of the font face makes it a little less visible though.

Garamond.

Interstate.

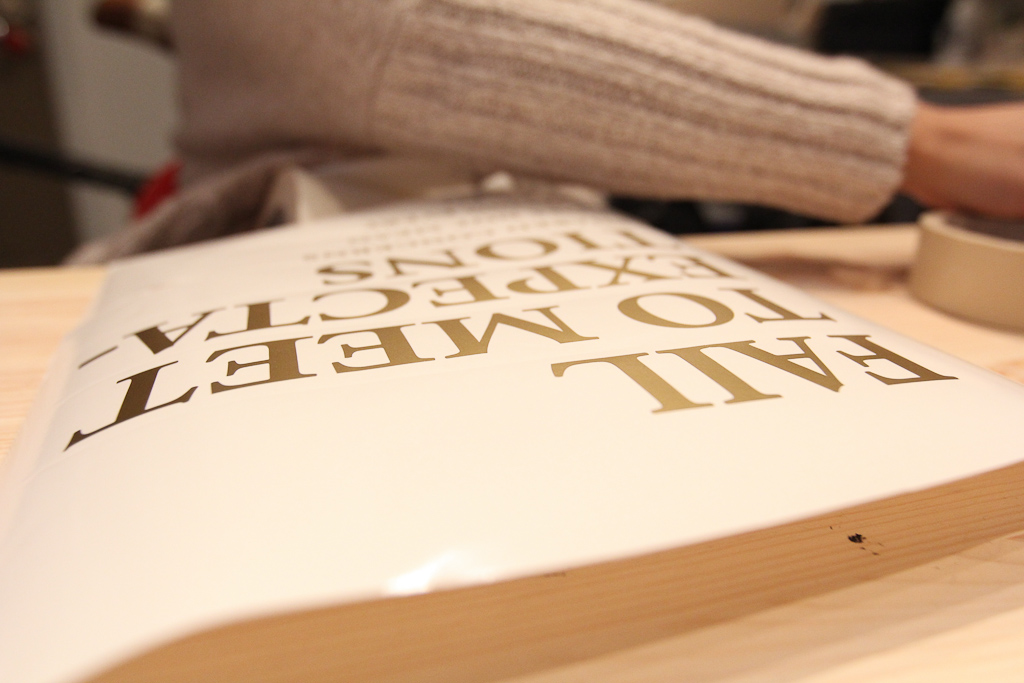
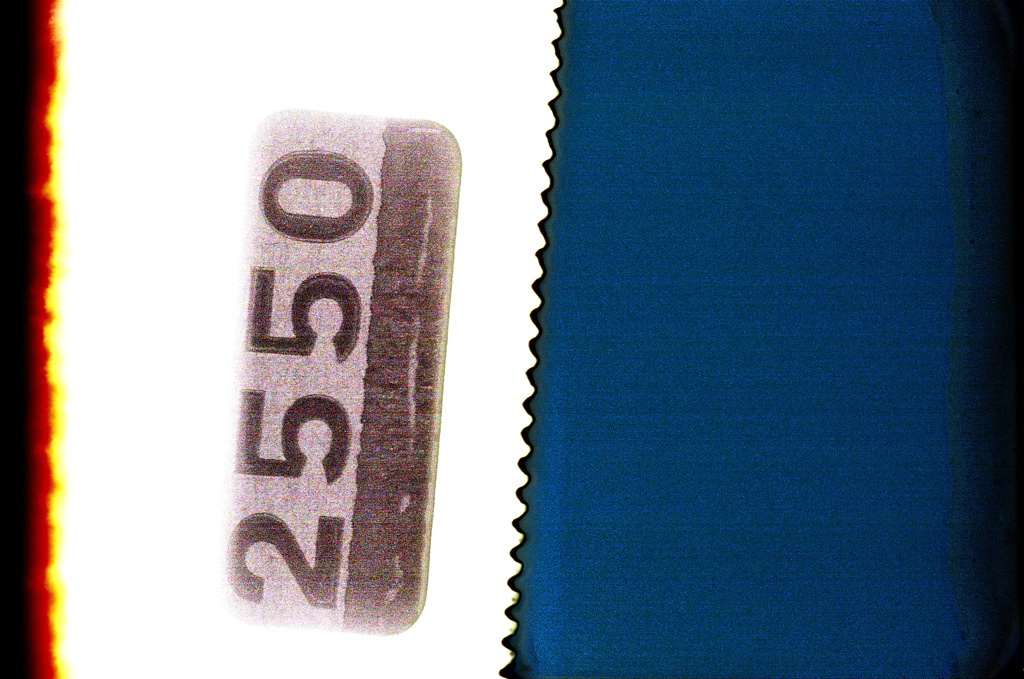
Then gold, just to get some contrast into the test.

The gold is a cheaper vinyl, but a lot easier to weed.

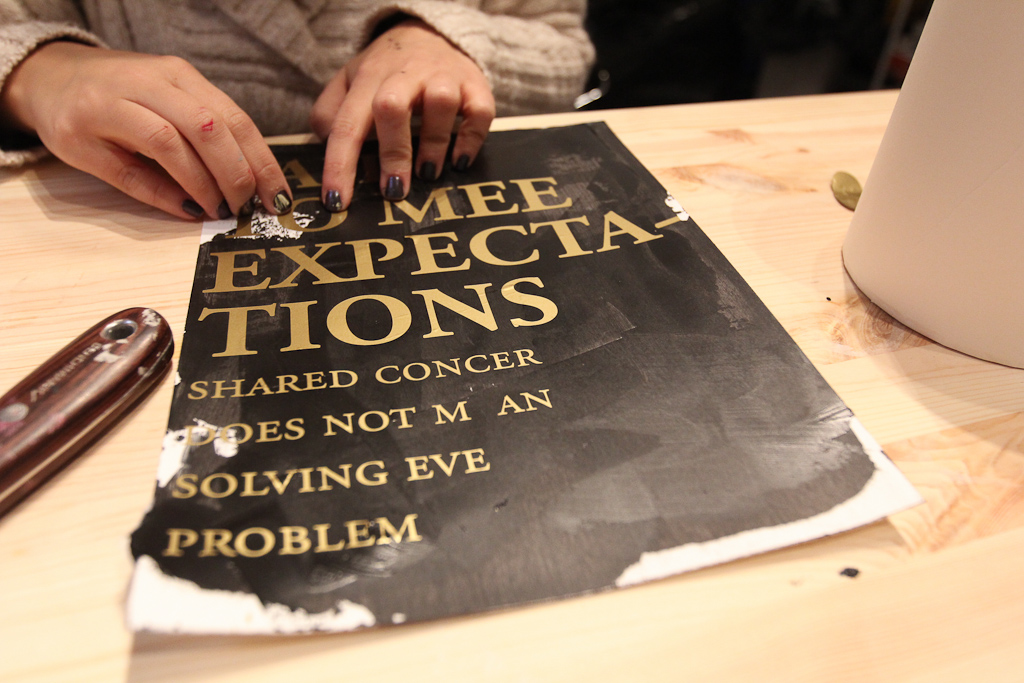
Fixing it up, as it didn’t stick to the paint as well.

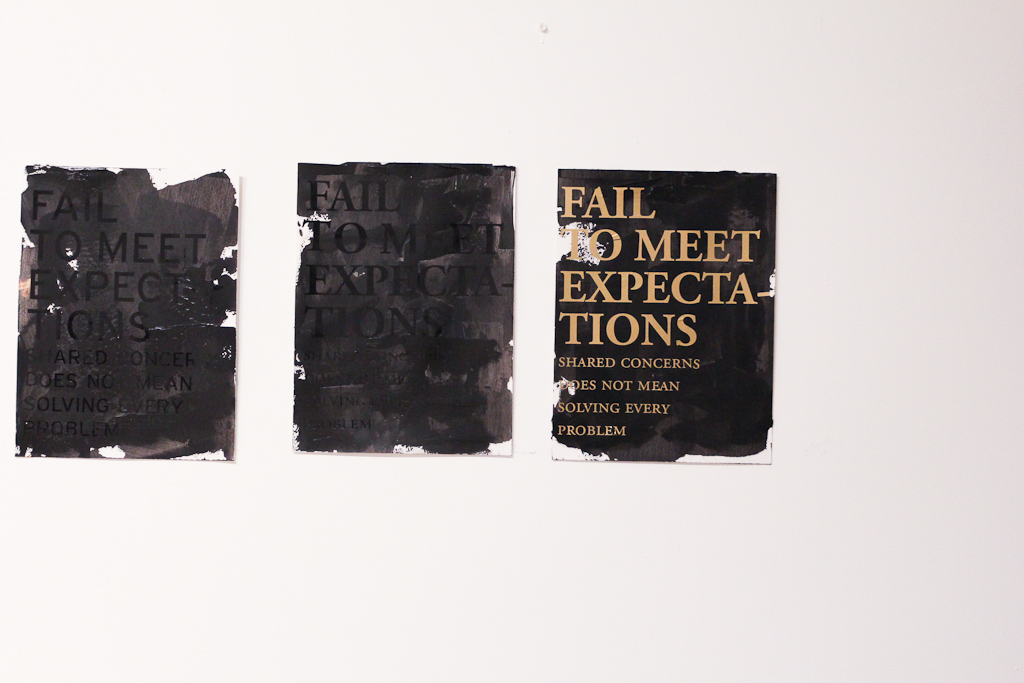
Side by side, the gold is most legible, but looks too much like a poster. Not sure what to do with the black on black yet. Thursday will be more time to play. Maybe we can get some larger paper by then … lots more to experiment with, but even looking at these photos now, I’m still pretty convinced of the black gloss serif. Maybe more play time with the texture of the paint.

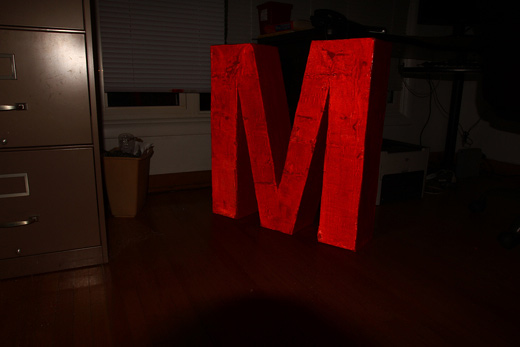
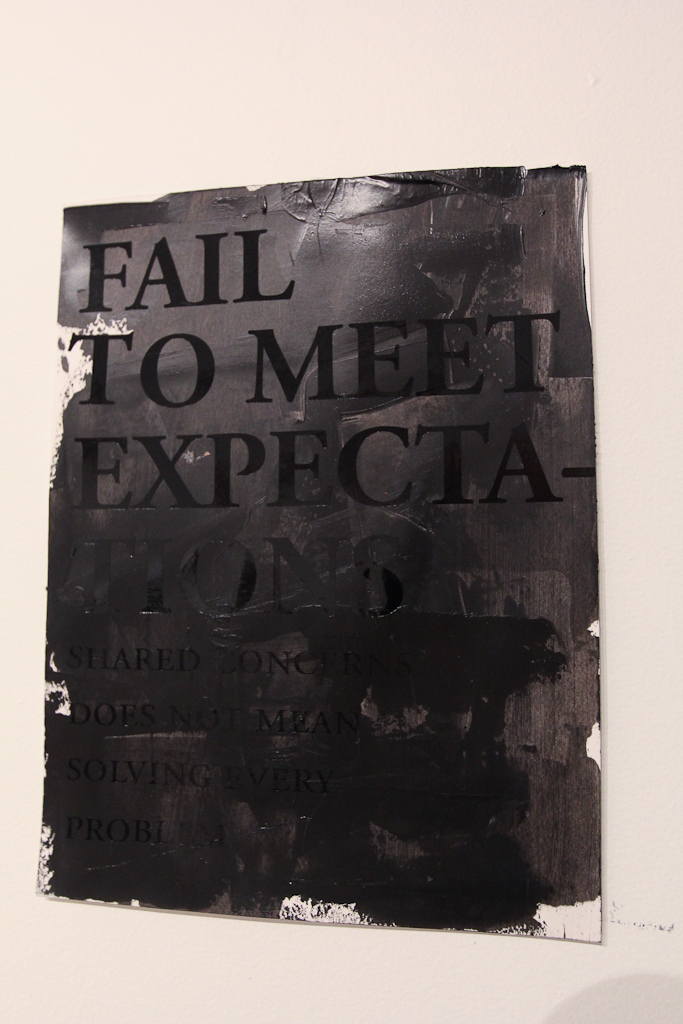
I came back later on in the evening and saw the rest of the work Hiba did with matte black before she left for the day.

Definitely harder to read, but the thicker black paint and the matte vinyl really work up on the wall. Experiments on Thursday.

More soon.

12-06-20 4:39:10 PM

The day before our launch. Rosina paints with Kiki.

The table of letters, ever-changing as each layer dries.

The letters that remain to be painted as of this afternoon.

Josh and Kevin’s project for the day…

Sara and Rosina headed out to do a bunch of short installs and photograph them.

The single-use camera Hiba brought. Later Sara bought another 15 or so of these.

Looking like this is exactly what they’re supposed to be doing here.

Sara reaches.

The letter H. Can’t wait to see these photos.

Meanwhile, back at the space, Kevin and Hiba take a rotation on the paint.

Josh begins to assemble their invention.

Hiba and I picked up the special occasion permit for tomorrow!

Kevin and Josh. Heading back to the space now … more later.


Single-Use Camera Tests: Captioning the City

	Documentation with single-use cameras: Putting letters up in city spaces (1)

Kevin and Josh ventured out with a single-use camera to test what the temporary installations would look like, as we continue to prep for Thursday’s launch of the Letter Library here at CIVIC SPACE.

Also, film is fun.

	Documentation with single-use cameras: Putting letters up in city spaces (2)

The letters look great and the photos aren’t too bad either. They definitely have a colder tone to them, but it works!

	Documentation with single-use cameras: Putting letters up in city spaces (3)

This shot was excellent — love how visible this is from a distance.

	Documentation with single-use cameras: Putting letters up in city spaces (4)

Recycling containers = excite.

	Documentation with single-use cameras: Putting letters up in city spaces (5)

Strange undulations in the wall = excite.

	Documentation with single-use cameras: Putting letters up in city spaces (6)

Blank walls = excite.

	Documentation with single-use cameras: Putting letters up in city spaces (7)

The conversation these texts have with other tags, signs, etc. are really interesting.

	Documentation with single-use cameras: Putting letters up in city spaces (8)

The prints. 4×6. We’ll need others.

	Documentation with single-use cameras: Putting letters up in city spaces (10)

Hiba starts to arrange these test photos as we figure out how we’ll design the exhibition space.

	Documentation with single-use cameras: Putting letters up in city spaces (9)

Also, on the to-do list — pick up our postcards today!

Grey Paint Test, Tattoos, and Talk of Homework II

This afternoon at CIVIC SPACE started out with a video chat with Jason Sturgill from Portland about a really awesome project we’ll be collaborating with him on in the spring of next year.

There is also talk of Homework II happening this fall…stayed tuned for more info on this.

Also, our Akimbo ad was released today! Cool.

On the production side of things, we decided to do the final letter paint test for the Letter Library. While both white and black paint tests have had their pros and cons, we agreed on a final test of the colour grey to see if we can find a happy middle.

Word of the day today is: HAVE

Pre-paint.

Before coming to the space, Hiba went to Michaels to grab some grey paint. All the grey paint was sold out (weird), so we resorted to making our own by mixing our black and white paint remnants.

Painting…

Waiting…

After the letters dried, we hung them up in the space to see how they fit.

The grey definitely pops more than the white did in the space … and we do need to decide soon …

We took to the streets shortly after to take some install shots on different wall surfaces to compare with the white and black tests we did previously.

The grey has a nice pop, even on muted walls like this one.

While white had a really great pop on brick walls, the grey letters have a very interesting presence.

Almost looks like concrete on concrete!

The shadows cast on the grey letters give them more depth, while the black letters got lost in their own shadows.

The grey as the middle ground (in every sense) might win the day. It stands well on our white walls and looks interesting among the different textures of the buildings outside. Maybe we should sleep on it.

Remember, June 21st at 7pm, you’re invited to our Letter Library launch!

Hello new friend, some initial tests with our new vinyl cutter

We recently acquired a Graphtec CE5000-60 cutter and we’re already dreaming up a whole bunch of new projects to put it to use. It cuts up to 24″ vinyl rolls (though I’ve also seen it score and maybe even cut cardstock) and with the Illustrator plugin, its incredibly easy. Above, a test with some gold vinyl.

It took only about 15 minutes to get it setup and running — there were some adjustments that needed to be made to in the offset to get the test triangle / square with the appropriate straight lines, but once that was setup and after I found the solution to the  HP-GL error 1 (change the command from HP-GL to GP-GL), I was able to send files from Illustrator just the same as you would send a file to print.

In these early tests, I’m just using some masking tape to transfer the vinyl.

It comes off pretty well — I was impressed with the quality and speed of the cut even with a cursive font like this.

I think they sell larger/wider rolls of masking-tape like material, but for now this works.

The maiden transfer onto a wall.

Easy transfer, just a little trouble with the bottom loop of the f.

So, a successful first test! In the past, we’ve worked with Printhouse for a lot of our one-off vinyl cuts, so if you’re looking for someone local we can highly recommend them. The things we’re going to be doing are just going to require so much volume that it was worth investing in one ourselves to do our own cuts. No details just yet, but I’m really looking forward to playing with this some more and I can’t wait to launch these new projects soon!

Building a Wooden Test-Letter

Back in 2010 we conceptualized numerous iterations of Kitchener-Waterloo border installations for Contemporary Art Forum Kitchener + Area (CAFKA). We decided on an ambitious wooden installation which will sit in a shallow pond at the city hall nearby. Our text installation, which will read REFLECT ON HERE, will need some thorough planning. For this reason, we spent most of yesterday evening constructing the faces of a test-letter (R) from plywood sheets measuring 8’x4′ each.

Continue reading “Building a Wooden Test-Letter”

Red Paint & Testing Glass Beads

We made a lot of progress tonight, not only getting a considerable way through the first coat of red paint, but also testing a variety of techniques for applying the retroreflective glass beads!

We also got to spend some time talking through how we’ll be temporarily installing the letters in a variety of spaces. We figure that there’s still at least a few more weeks of preparation and tests, but we’re really getting excited to get these out into the world.

Continue reading “Red Paint & Testing Glass Beads”

Projector Tests: Day 2 of 2

IMG_9933

We met to do another round of projection tests, this time outside. While we still only had two projectors to work with for the test, we definitely verified an increase in brightness on outdoor surfaces (both with ambient light and without), though this increase is not equal to the amount of light we’re throwing at it—that is, shining two projectors with the same images at the same point does not double the brightness.

Continue reading “Projector Tests: Day 2 of 2”