Broken City Lab Office Hours on Tuesday were hugely productive. We completely finished getting all the resistors on the LED sign, measured out all the letters with flagging tape for the EC Row Project, organized some logistics for the planning stages of a couple other upcoming projects, and figured out the title for our upcoming show in the Lebel Gallery.
Lots of photos after the jump.
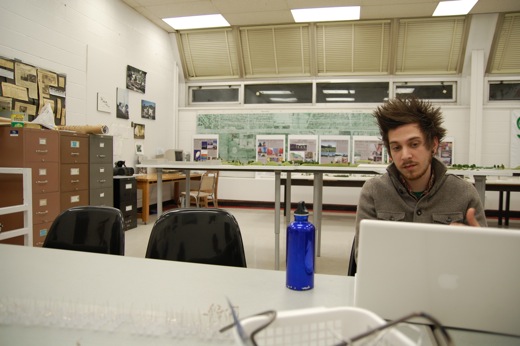
I always try to make an agenda, but we usually get off track before getting through the whole thing. This time we plowed through and really got organized on moving forward on some things that have been on the table for a while and starting on some new projects as well.
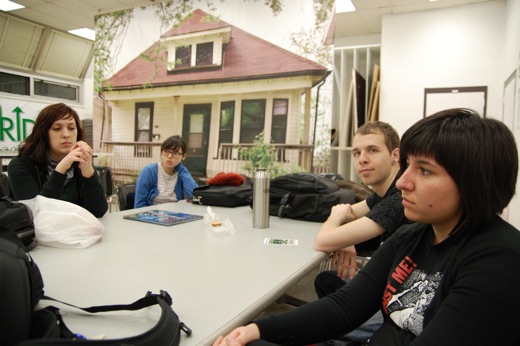
We had enough people around the table, and enough to do, that we split up and worked in parallel.
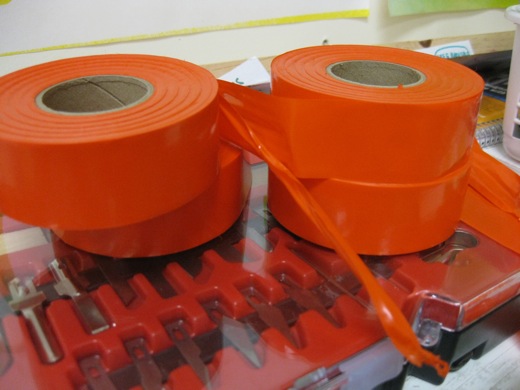
On Monday I purchased 4 more rolls of the flagging tape to try to pre-measure the letters for the EC Row Project. We had been planning on installing this on Tuesday morning, but held off for a couple reasons.
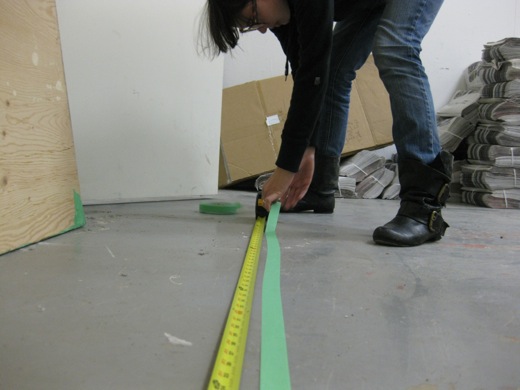
Working off the measurements Josh made a few weeks ago, Danielle measured out the size of an EC Row fence section and marking it with some masking tape on my studio floor.
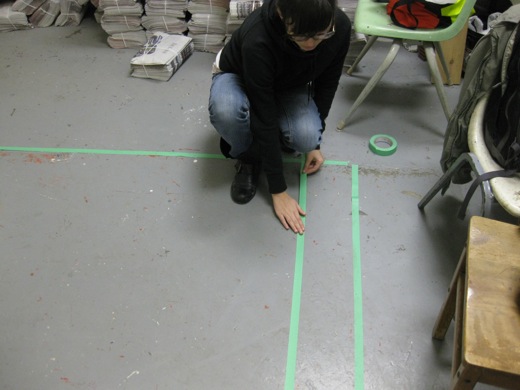
To try to keep the letters more square than rectangle, we laid down another tape line on either end.
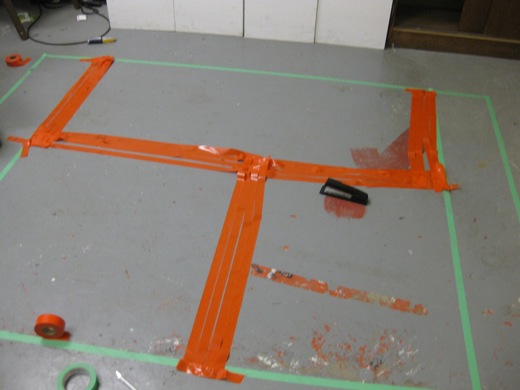
Our first attempt at making the potential install of the EC Row project faster was to make the letter in small sections, stapling it together. However, this really, really wasn’t working. The flagging tape only being 1.5″ wide meant a lot of staples and while it wasn’t too bad to work with on the floor, it would’ve been impossible to deal with when the wind is blowing this stuff around. While the width was looking it, logistically it just didn’t seem like it was going to work.

We got as far as this shape (I think it might have started out as a Y), but realized it was probably the way to go. Bubble letters would be fast, and help to reinforce the shape of the letter. My concern is how it shows up in photographs, but I think this should work, especially when the background will mostly be sky or a solid colour, not a minivan, sign, and McDonalds.
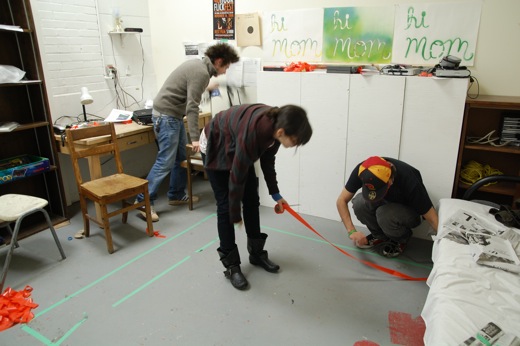
So, after deciding that bubble letters were the way to go on Monday, Danielle and Immony worked on measuring out the rest of the letters at Tuesday’s Office Hours.
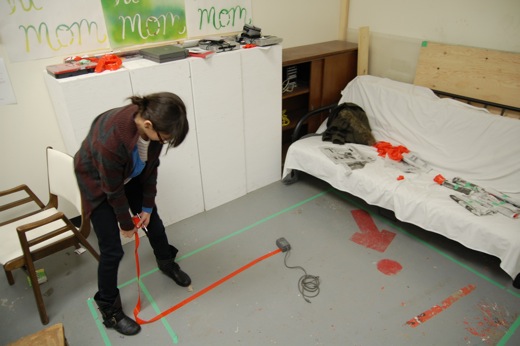
Danielle uses the power adapter from the old PowerBook that Darren gave us to hold down the flagging tape while measuring out letters.
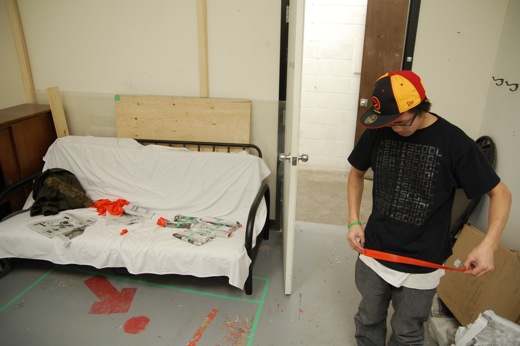
Immony measured out the width for each letter—this way, people installing could have a piece of flagging tape to know the width the letters would be, since we weren’t going to use the entire width of the fence section.
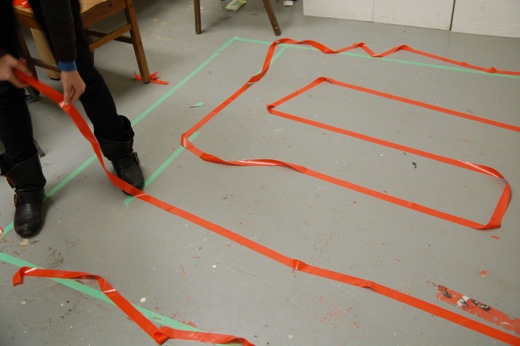
Danielle making a bubble letter with flagging tape.
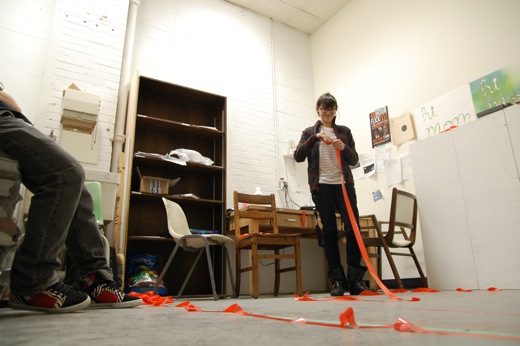
Danielle rolling up the flagging tape to put in the “envelopes” for each letter.
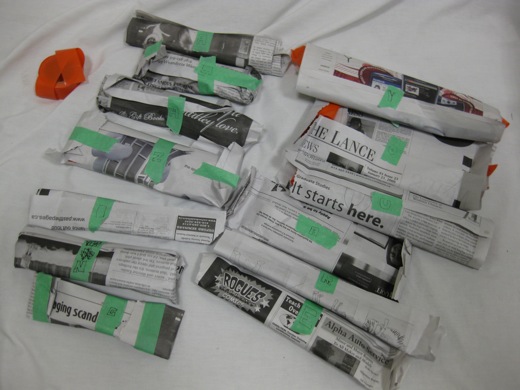
All the letters in their envelopes, ready to install.
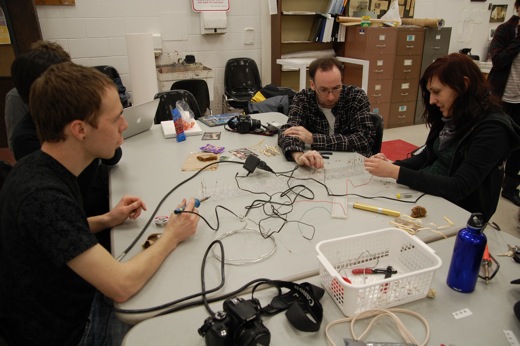
Back around the table, the soldering continues on the LED sign.
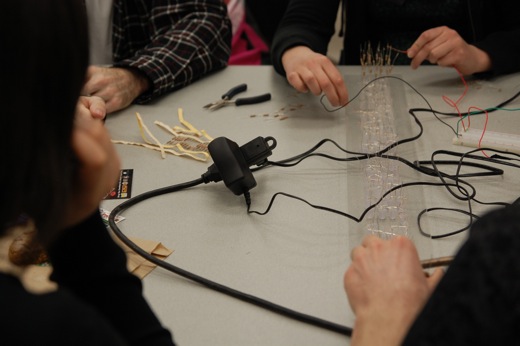
We wanted to see how many LEDs we had killed the first time we tried using resistors. For whatever reason, we couldn’t get the positive and negative leads to work from the breadboard, so we ended up just using the leads right from the adapter. There were less dead LEDs than we had anticipated, but we still need to go back and replace them.
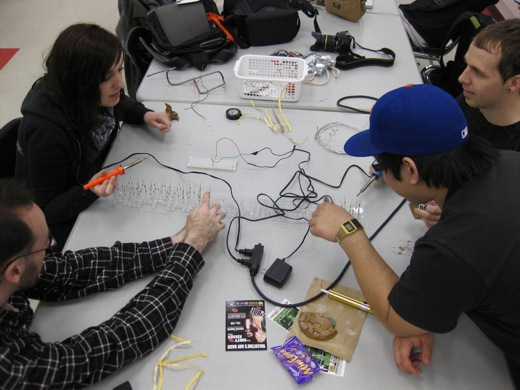
Michelle, Darren, Mike, and Josh around the sign, working from either end on soldering the resistors onto the LEDs.
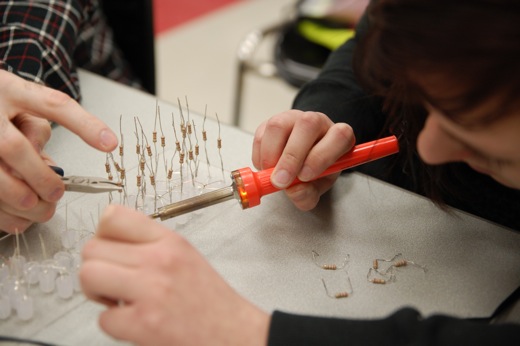
Darren and Michelle had a good system going for recovering the resistors originally soldered on the LEDs and then working their way up the sign.
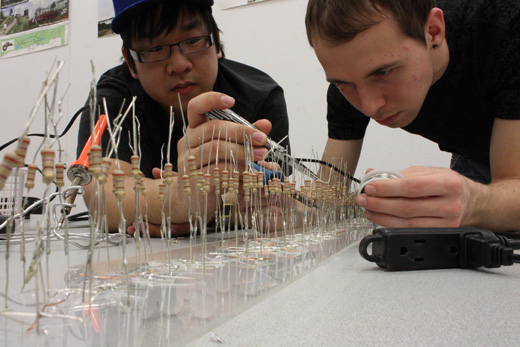
Mike and Josh took on soldering the other end of the sign.
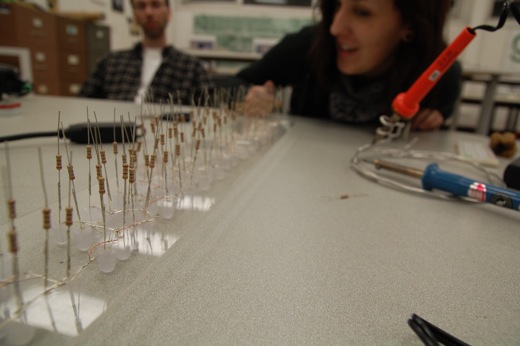
Happy we finished with the resistors, but realizing there’s still a ways to go before we’re completely done, we called it a night.
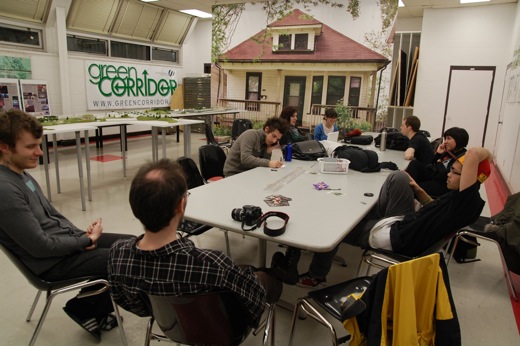
it was fun to help michelle with the soldering last week. looking forward to more fun times this week.
I’m anxious to see the sign’s wiring finished, will probably be pretty crazy to solder the wire through each resistor. We still have to find the dead LEDs, right?
i think the dead LED’s might just be some poor soldering on the plexi. so might work on checking that first. i will bring some more wire too. i don’t mind working on it though. : )
OK, we should check that first, but I think we killed a couple when we had the resistors on the wrong way… hopefully there’s only a couple!
i hope so too.