Over the past few weeks, we’ve been testing out methods for transferring photocopies onto fabric using acrylic medium for the banner and bunting that will be installed on the exterior of Hamilton Artist’s Inc.

Rosina picked up this 1000ml tub of acrylic medium for The Store at SoVA‘s Store. We had some leftover scrap material to play with that we picked up from our technician and collaborator Jodi Green‘s studio at The House.

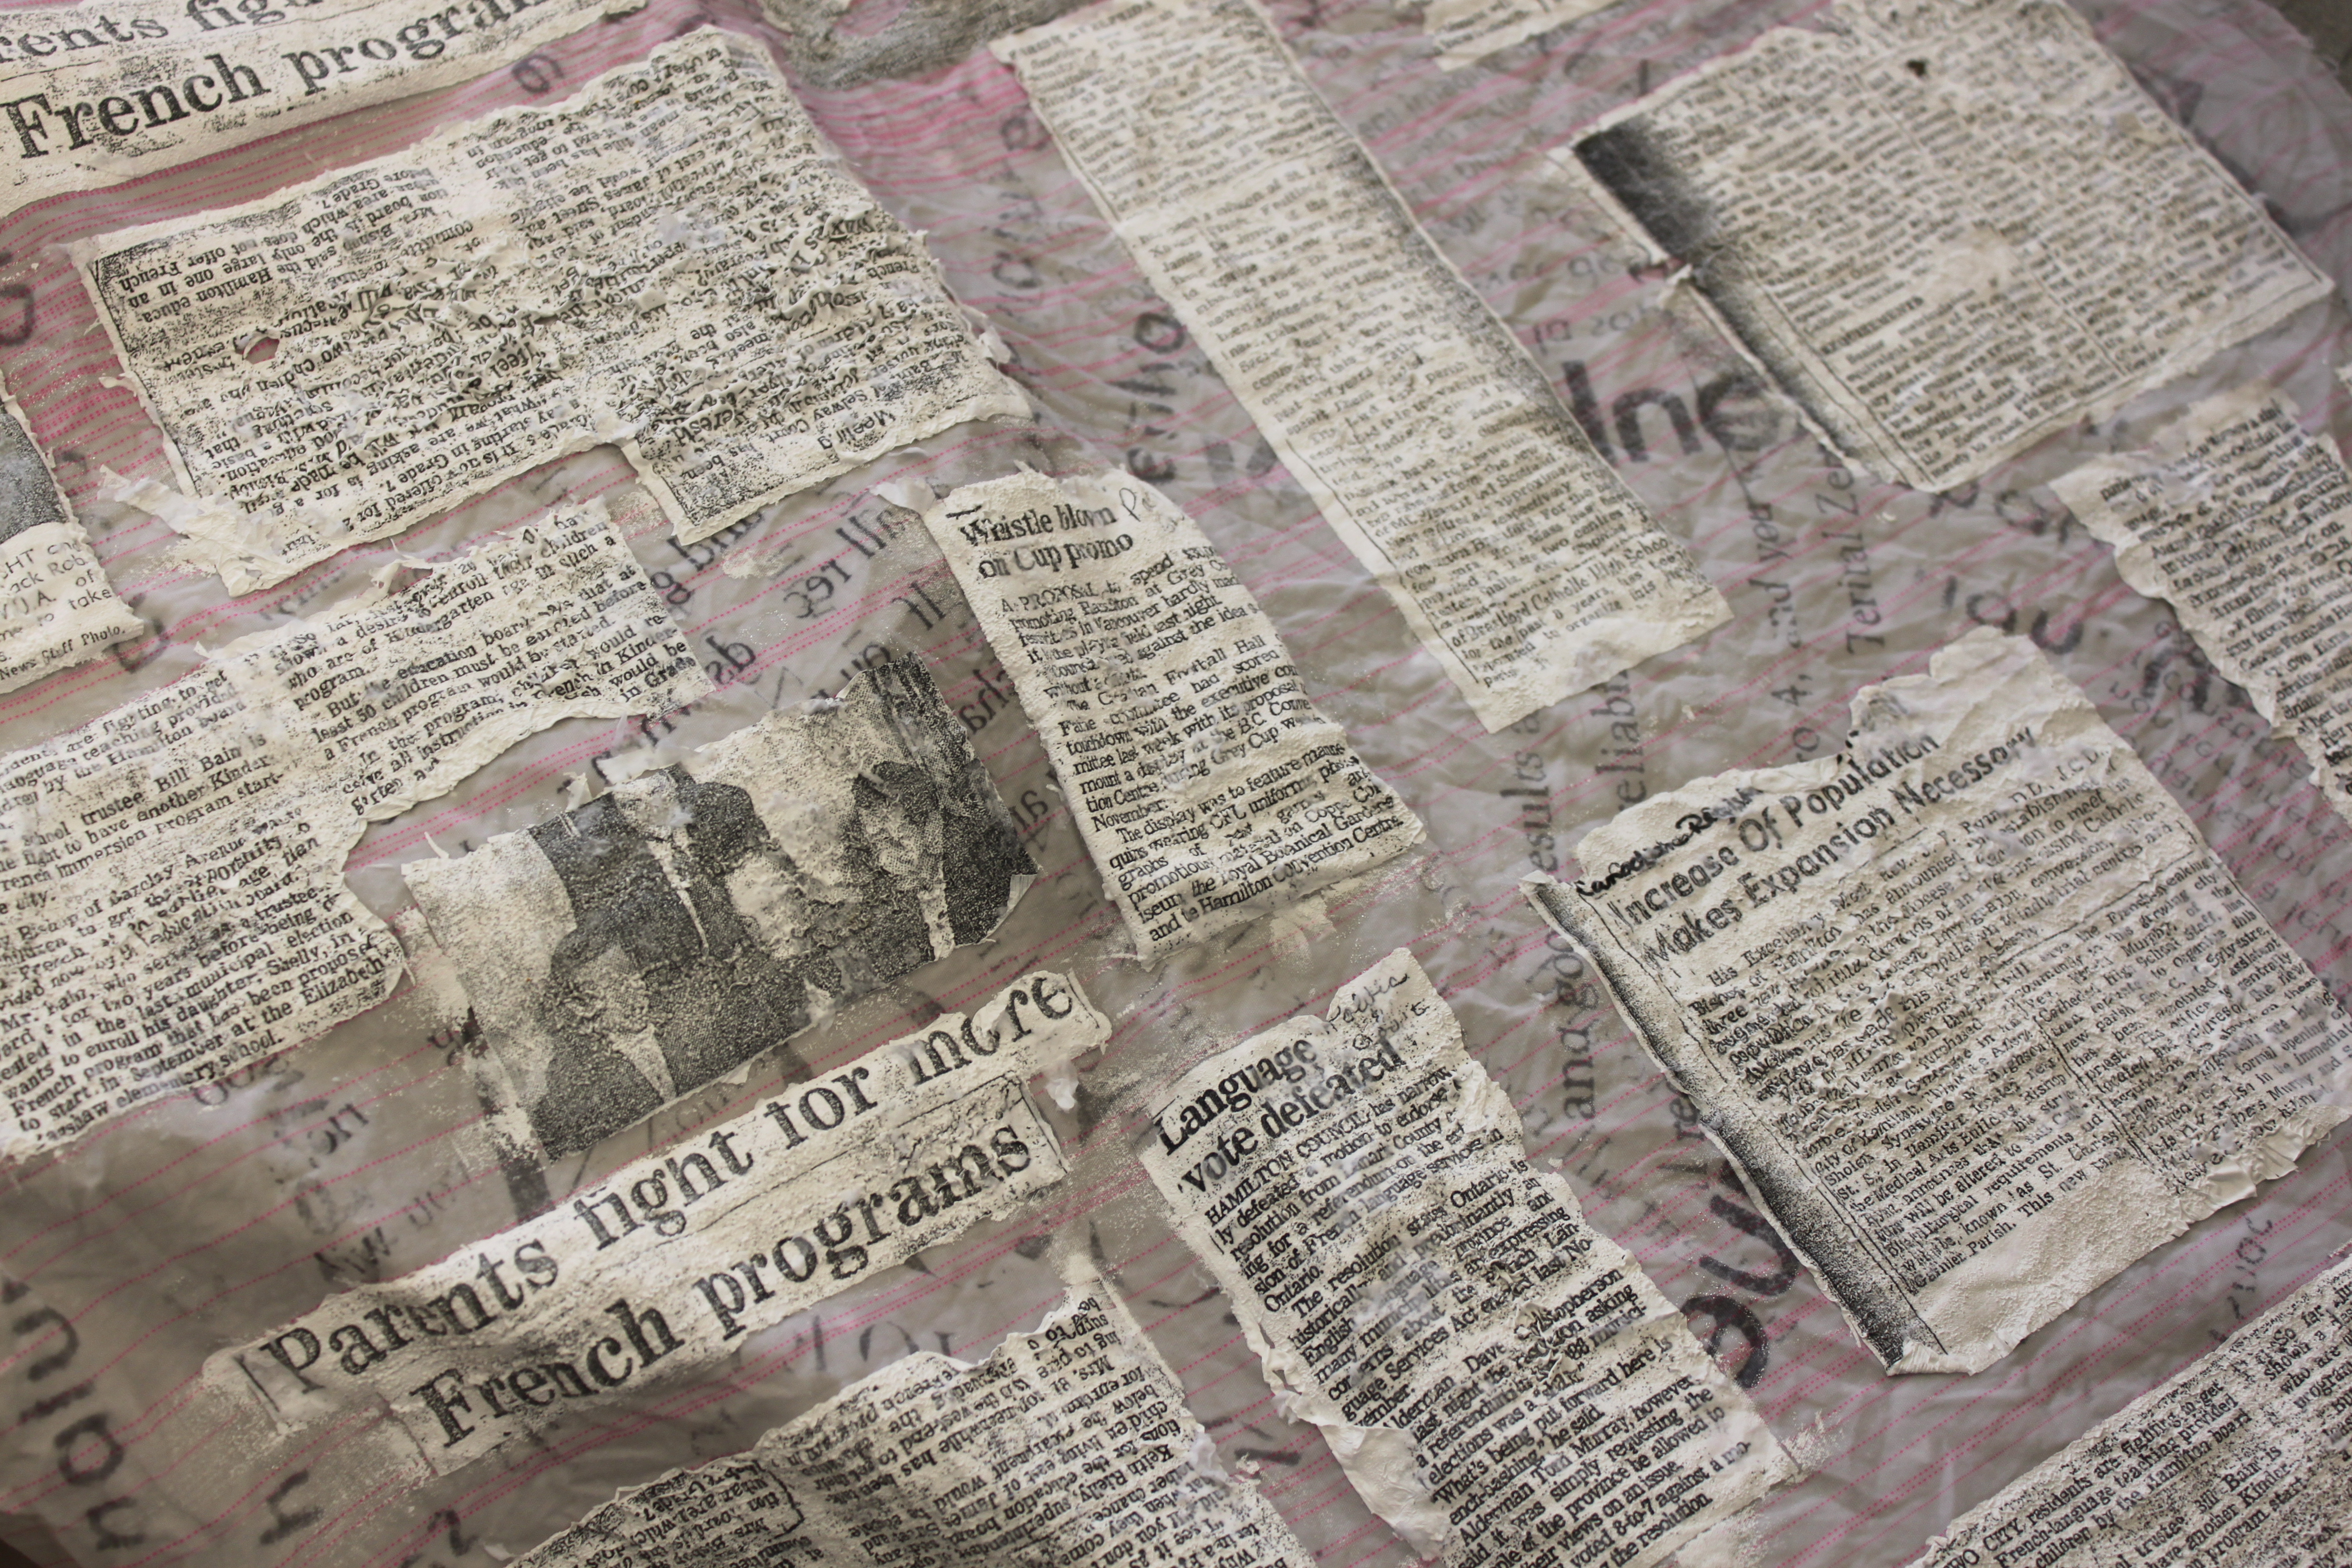
Using some photocopies of historical articles we collected from the Hamilton Archives regarding francophone feats and struggles and both the textile and steel industries in Hamilton, we got to work doing a few different test transfers .

The medium is applied directly to the fabric then the photocopied paper is placed over the fabric and rubbed in to ensure a crisp image.

We tested on both light and dark coloured fabrics, as well as pure white, to see the difference from one tone to the next. Then, we set our tests to dry overnight in the BFA studio at the SoVA.

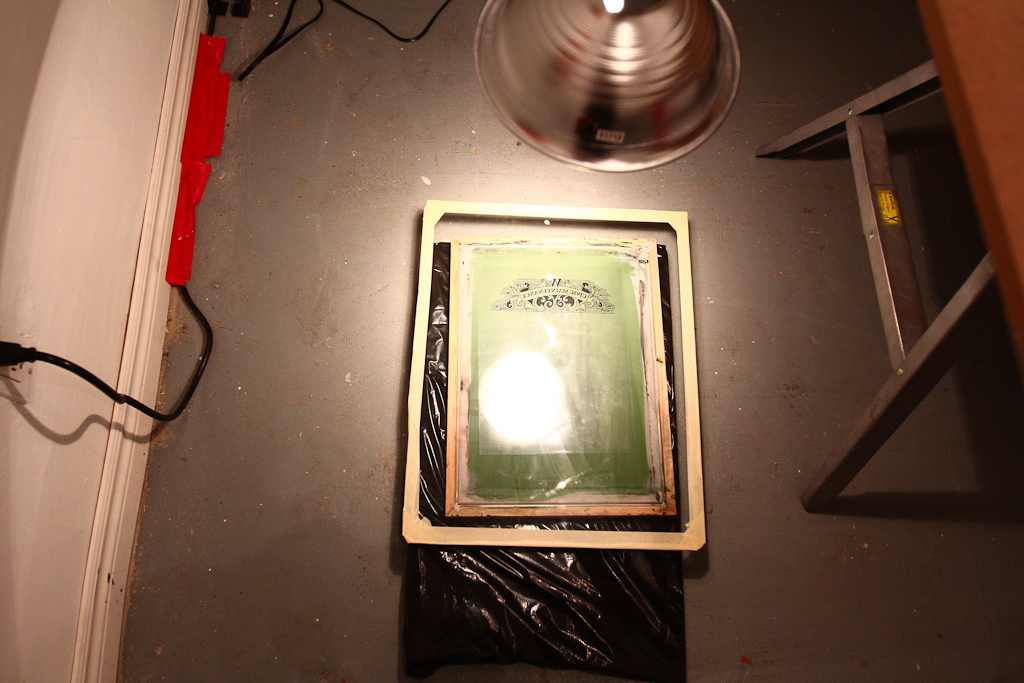
Here’s an example of the bacl side of one of our photocopied articles. The text was photocopied in reverse so that it would come out onto the fabric in the correct direction.

The back of on of our tests before setting to dry.

After the first tests had dried at least 24 hours, we got to rinsing them to see the results.

They came out nice and clear! Here’s an example on white fabric.

Another sample soaking for a few seconds in cold water. After trying a sample with hot water, we soon realized that the heat was removing some of the transfer. It seems that cold was the way to go.

Our stack of photocopies.

Next we decided to do a few more tests on a larger surface area to play around with style and placement of the photocopies on the fabric.

Hiba was around working in her studio and giving us helpful hints for rinsing out the fabric transfers.

The remnants of paper post-rinse.

Sketches describing two different methods for transfering; one with medium painted directly on the fabric, the other is painted onto the paper then pressed into the fabric.

Our tests from last time drying. They all turned out well. Some were more interesting than others.

Old photographs of sewing machines made in Hamilton & Region during the 1800’s.

More samples of tests.

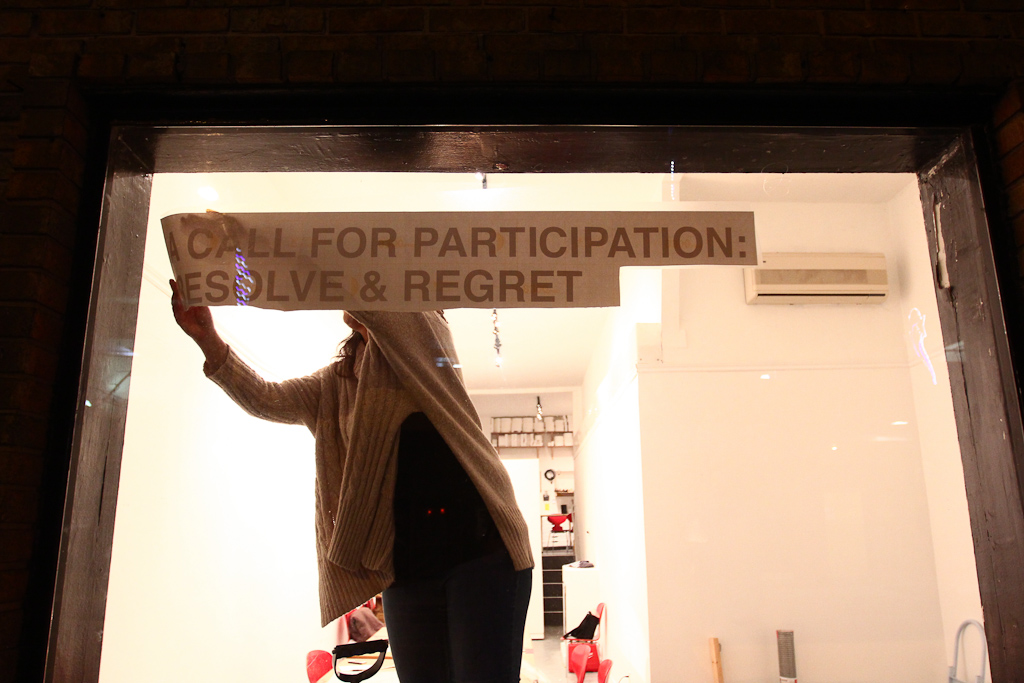
After picking up the squares from Jodi, we placed them out on the floor in the general shape of the sign they will become.

I rinsed off the larger tests we had done from last time.

Here’s the first test, medium painted on paper.

The edges were curling and the transfer was not very durable.

Two of the tests hanging to dry. The one on the right will be similar to the end results.

Just for fun, we did a test with clear glossy medium (rather than solid matte) The results were interesting and cool but would only work well on solid coloured fabric. Future t-shirts perhaps?

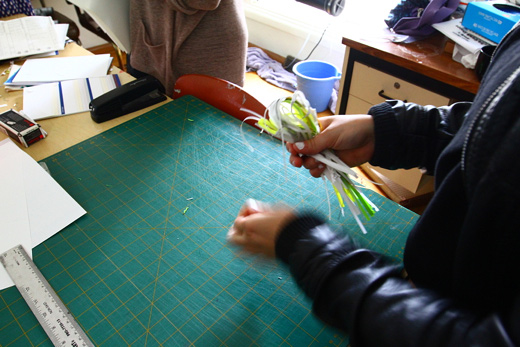
We started by cutting up all the photocopies in preparation for transfering 16 36″x36″ squares.

We also arranged the events from the timeline Hiba and I compiled during our last trip in Hamilton to be photocopied and transfered onto the Hamilton History timeline bunting.

A giant pile of pre-cut photocopies. After Cristina arrived to help, the pile of 8.5×11″ paper was reducing quite fast and we plowed through it in no time.

Dried samples from previous tests.

Our photocopied strips ready to go. It proved useful to dedicate a whole table for laying them out.

I wipe down the table before laying out two squares for transfering. Always important to start with a clean work surface! Soon after, Rosina and Kevin joined us.

We laid out the strips before securing their placement with the gel matte medium. We went with a broken grid pattern that sometimes crisscrosses over and under itself.

We had fun! We decided to keep working until we ran out of medium for the day.

Hard at work.

We each hard a slightly different method for applying and adhering the transfers, all with the same basic idea; paint the medium onto the fabric then rub and scratch the paper into the fabric.

After cutting up all of the articles and finishing to transfer 8 / 16 squares (each one will hold a letter to spell a word on the giant sign on the side of Hamilton Artist’s Inc), we ran out of medium and called it a day. Rosina will be finishing these squares today and we will get started on transferring the bunting on Thursday.