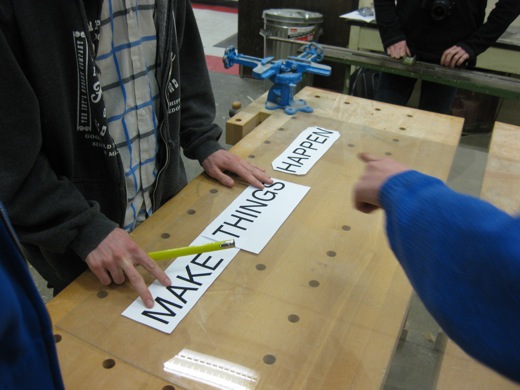
Tuesday night’s Broken City Lab Office Hours were successful, but as usual, all too short. Spending the majority of the time in Lebel’s wood shop, we started working on our LED sign, but still have a long ways to go with it. We cut plexiglass, drilled holes, and started soldering—I think we’ll continue next Monday and Tuesday night at Office Hours. Lots of photos of the whole process after the jump.
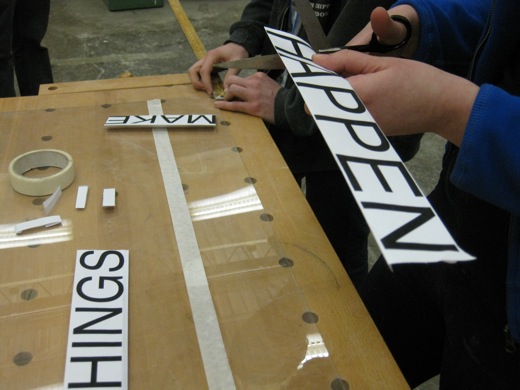
The first step was trimming down the words to their very edges to get a better idea of how they would fit on the plexiglass. We got a few sheets of plexiglass that were going to be thrown out from the hallways of Lebel, and this sheet happened to be almost the perfect length.
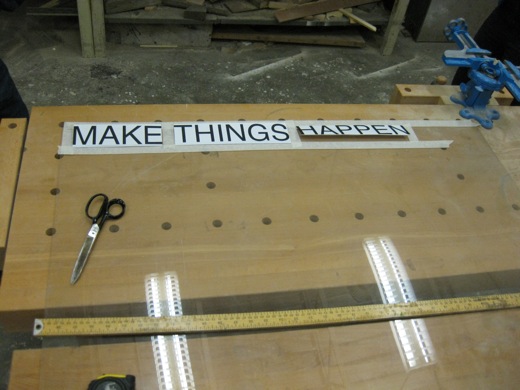
We laid out the words, realizing that the letters were about 2″ high, the masking tape 1″ wide, we would only have to cut a little bit off the end.
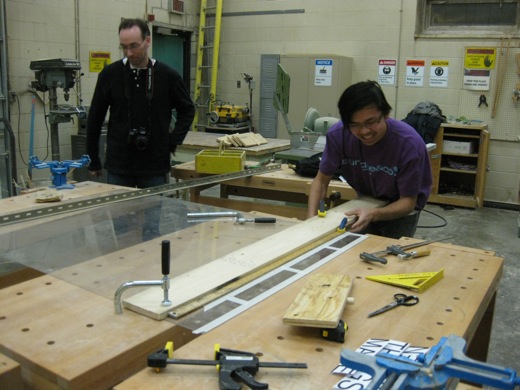
Immony went about clamping the plexiglass along with a meter stick to give us an edge to score the plexiglass. The meter stick was a bit warped, so we used another board to brace it.
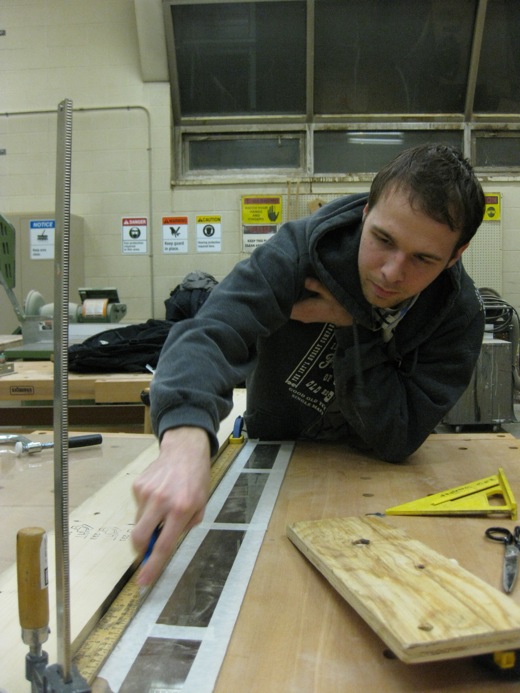
Josh scores the plexiglass with an xacto knife.
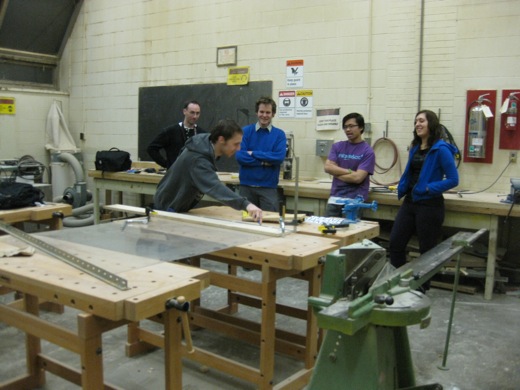
Everyone else supervises.
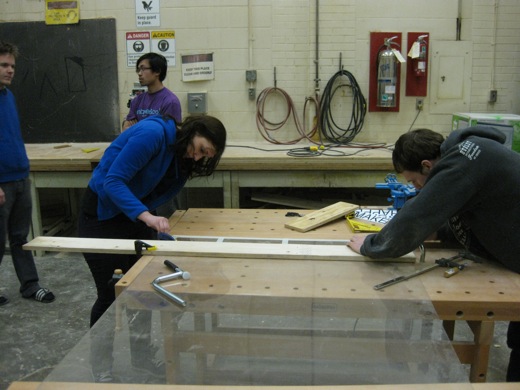
We reasoned that after all this measuring and clamping, it would be good to make the first break of the plexiglass the right one. You have to score the plexiglass a bunch of times, then it will snap off. However, even after all our preparation, the first snap ended up breaking at a strange angle on the right-hand side. We only lost 1.5″, so we just re-centered the words, shortening the length of the plexiglass and cut it again.
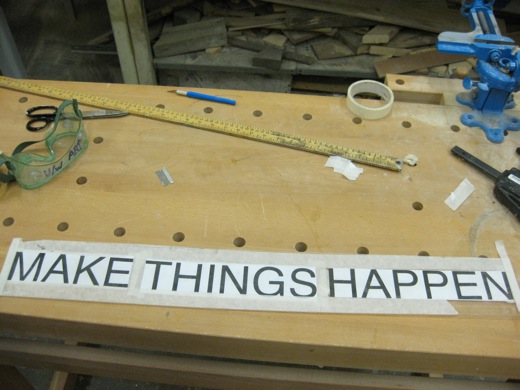
This time, the break was clean, and the spacing between words is still fine.
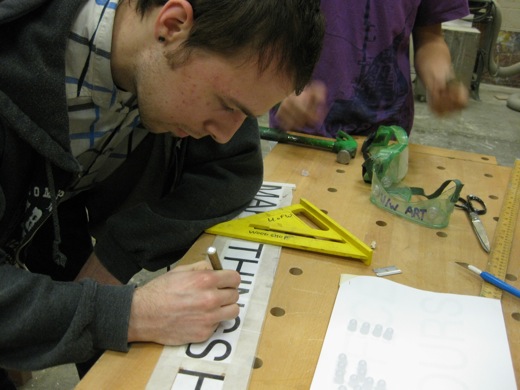
Josh then used Steven’s gold glass pen to mark where the holes would have to be drilled for the LEDs.
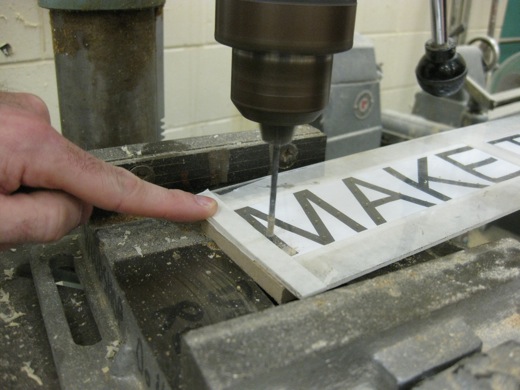
Immony took on the drilling. We put a piece of MDF under the plexiglass to try to keep it from cracking.
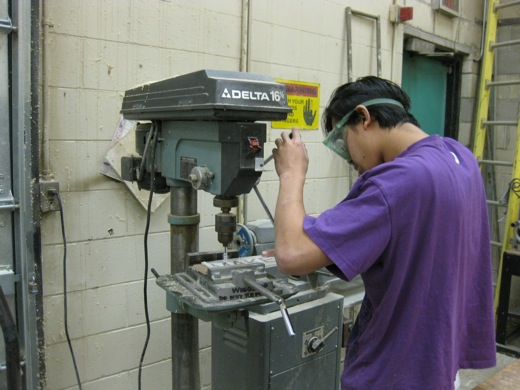
Immony made some adjustments on the fly to the placement of the drill holes.
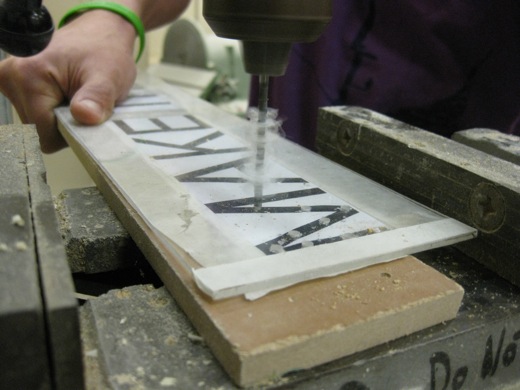
In the end, the letter M ended up being the most difficult in terms of fitting enough LEDs in and shaping it correctly.
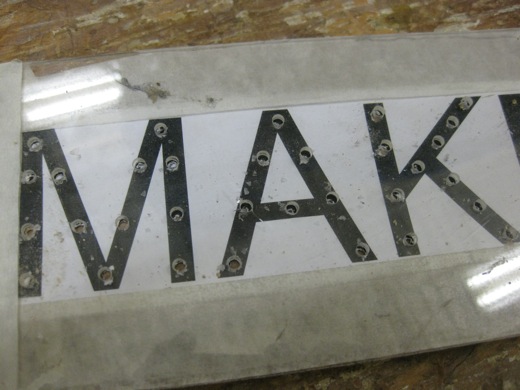
Most of the first word, MAKE, done. You can see that we were a little off with the placement of holes for the LEDs. At 10mm each, the peaks of the M and the diagonals on the K had the holes a little too close to one another.
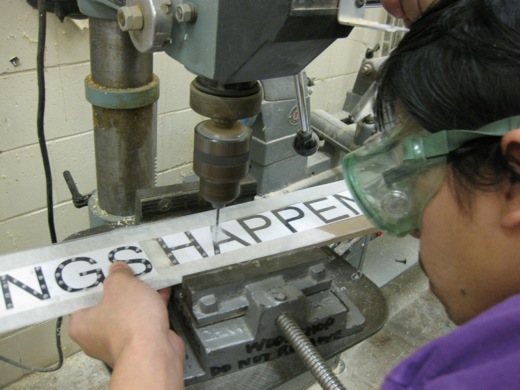
Immony went on with the rest of the sign.
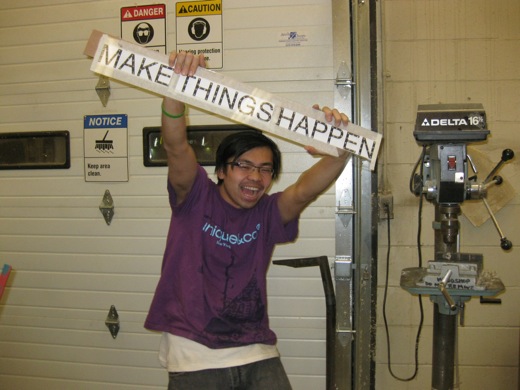
Immony gave us an action shot of his awesome drill press skills.
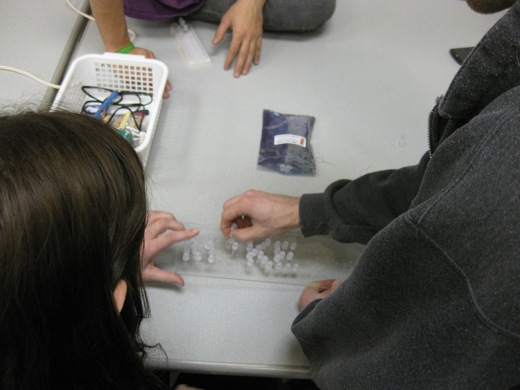
Back around the table, we started laying in some LEDs into the holes, starting with the first word.
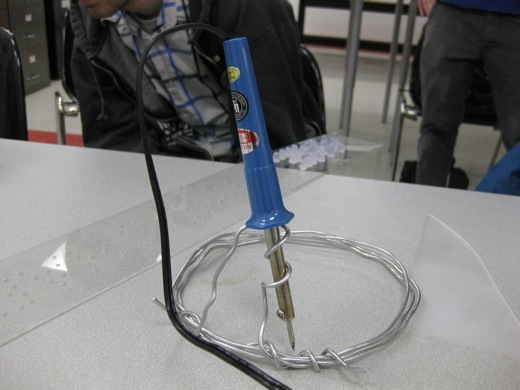
Steven fashioned a stand for the soldering iron for safety.
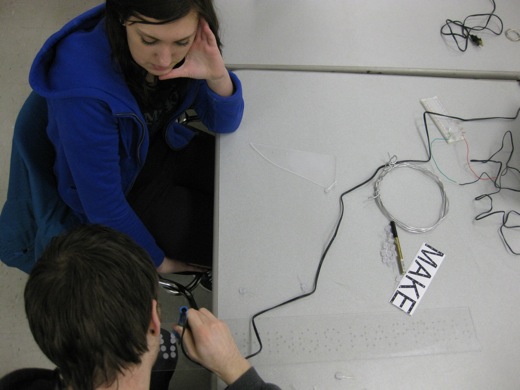
We realized that some of the holes would need to be redone, so rather than going back to the wood shop, we used the soldering iron to make some new holes.
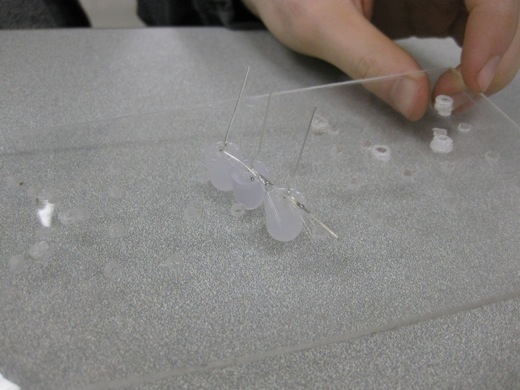
You can see our first bit of soldering on the letter A, along with the new holes on the letter M on the right.
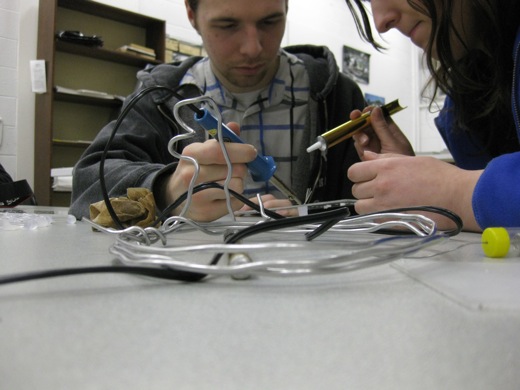
Josh and Michelle try to clean up some of the solder.
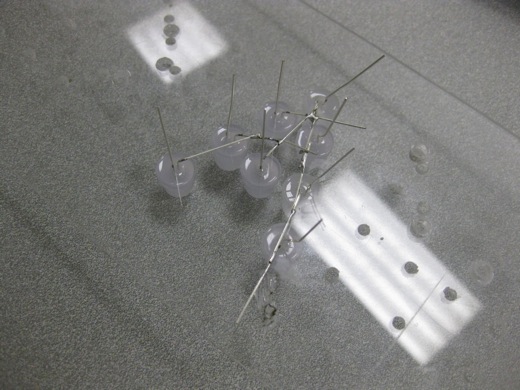
The letter A, partially soldered. We’re going to wire up the sign in parallel, so each anode of the LED needs to be connected, then each cathode needs a resistor and then will be connected to the next cathode. Above, we soldered the anodes first, the cathodes are standing up, waiting for resistors.
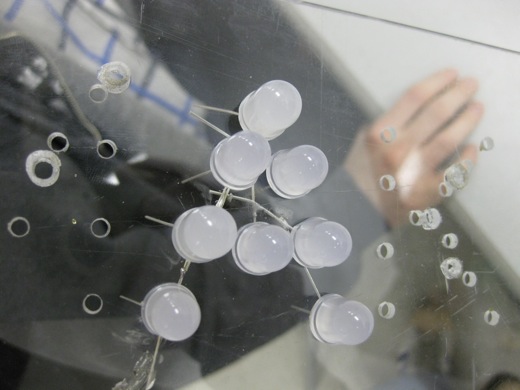
The letter A from the front view of the sign.
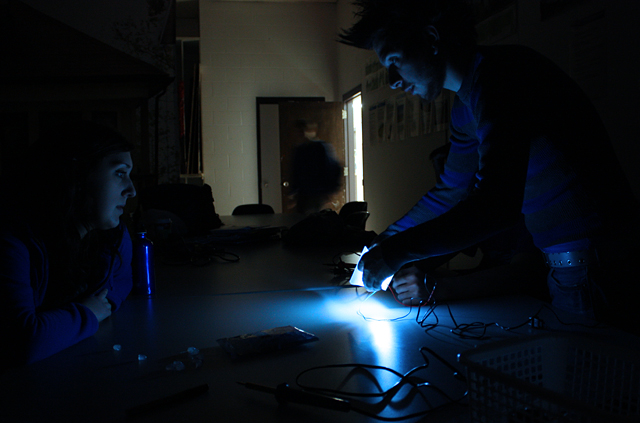
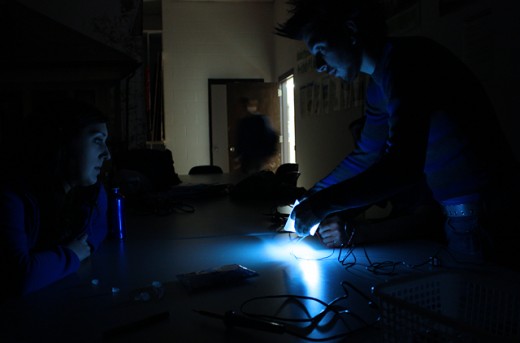
Steven had suggested that we could try using a frosted plexiglass to finish the sign. He sanded down a spare piece of the plexi we had, and we were testing it to see if the legibility increased over having just the bare bulbs. Darren got this great photo of it.
Office Hours this week were really productive and now we can move forward with the soldering of all the letters.
Nice commentary! I would hope we could come together this upcoming week and “test our A.” The teamwork was at it’s height on Tuesday and I think we’ll really need it when we choose to mount our tape sign.
wow, that last picture is really the piece de resistance.
also: CAN’T WAIT TO FINISH THAT SIGN
!
I’m looking to working on things more and getting into documenting your work more too. It’s taking time but I’m starting to get more comfortable with my camera finally. It was good to see you at the BT today too Justin. Looks like lots of interesting things will come together as the year goes on.